 Save
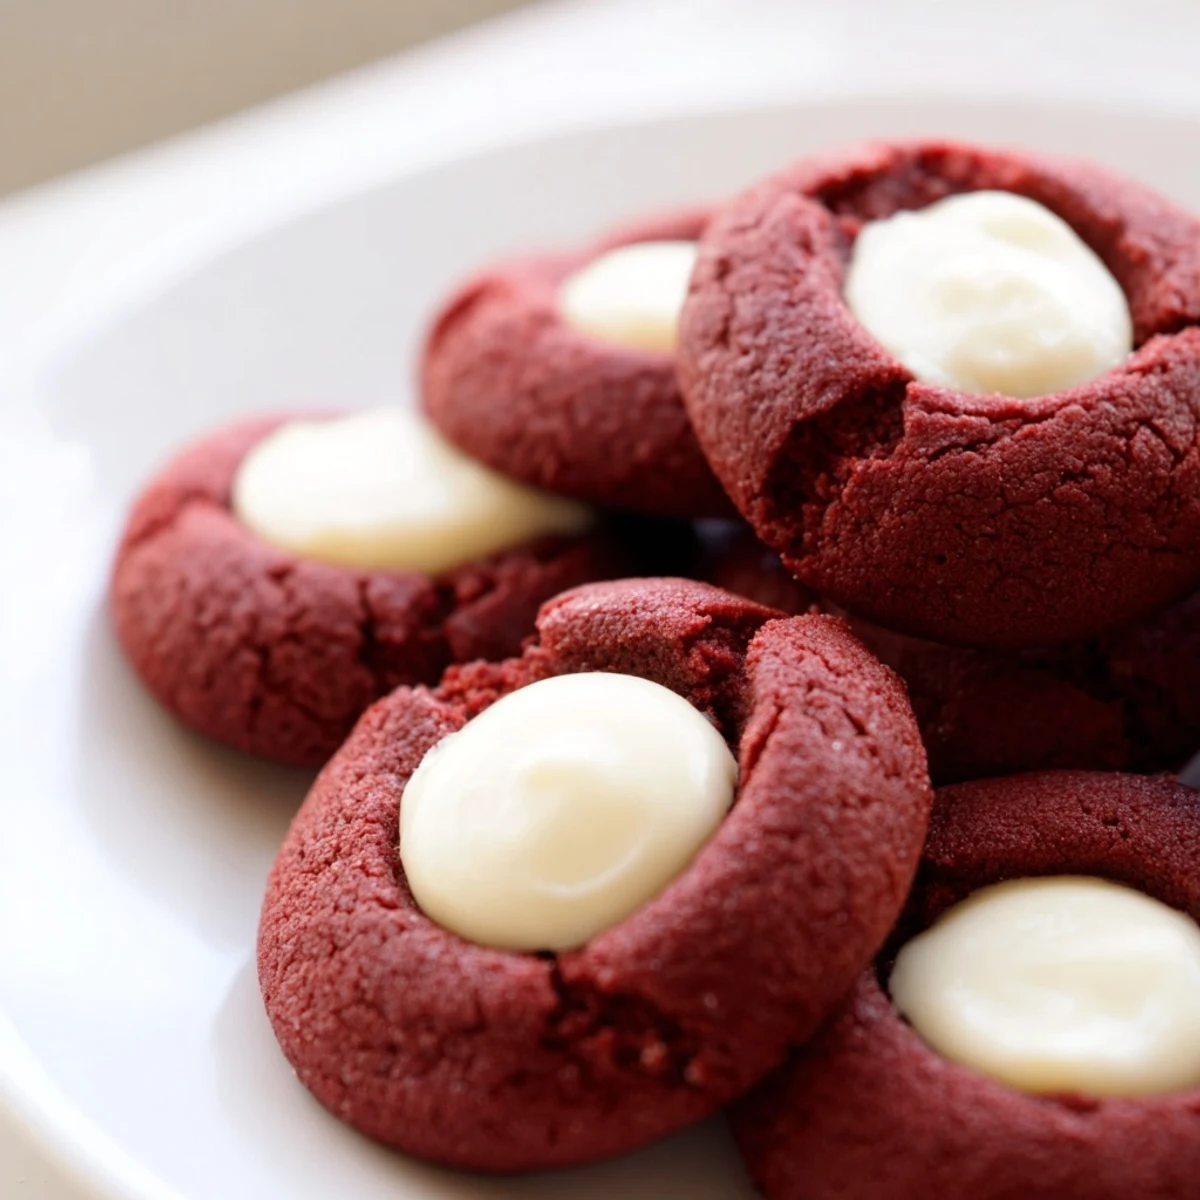
Save These delightful red velvet thumbprint cookies combine the classic cocoa flavor and tender crumb of red velvet with a luscious cream cheese filling. The vibrant red color makes them perfect for holidays and special celebrations, while the straightforward preparation keeps them accessible for everyday baking.
The dough comes together quickly with basic pantry staples, and the thumbprint technique creates the perfect well for the sweet, tangy cream cheese center. Each bite delivers the beloved chocolate-vanilla balance of red velvet, elevated by the creamy filling that adds richness and contrast.
Swap the cream cheese for white chocolate ganache if preferred, and add festive sprinkles for extra celebration. These treats store beautifully in the refrigerator, making them ideal for advance preparation.
The first time I made these thumbprint cookies was actually by accident—I'd originally planned to make classic red velvet cake for a friend's birthday, but realized halfway through prep that I was out of the right pan size. Panic led to creativity, and I ended up rolling the dough into little balls instead. My kitchen smelled like chocolate and vanilla while they baked, that warm cozy scent that makes December afternoons feel magical even when it's gray outside.
My roommate walked in while I was pressing the thumbprints into the dough and immediately asked if she could help fill them. We ended up making a whole afternoon of it, listening to holiday music and eating way too much raw dough (I know, I know). Now every time I see that bright red dough against the stark white cream cheese filling, I think of laughter in the kitchen and powdered sugar dusted countertops.
Ingredients
- 1 1/4 cups (160 g) all-purpose flour: This creates the perfect tender crumb without turning the cookies into cake
- 2 tbsp (15 g) unsweetened cocoa powder: Just enough cocoa to give depth without overpowering the classic red velvet flavor
- 1/4 tsp baking soda: Helps the cookies puff slightly while maintaining that signature dense texture
- 1/4 tsp salt: Essential for balancing the sweetness and bringing out the chocolate notes
- 1/2 cup (115 g) unsalted butter, softened: Room temperature butter creates the right structure—cold butter makes cookies spread too much
- 3/4 cup (150 g) granulated sugar: This amount sweetens without making the cookies cloying
- 1 large egg yolk: Using just the yolk adds richness and helps create that fudgy texture
- 1 tbsp whole milk: Adds moisture and helps dissolve the sugar properly
- 1 tsp vanilla extract: Pure vanilla makes all the difference in red velvet's signature flavor
- 1 tsp red food coloring: Gel coloring works best but liquid will do—just don't be shy with it
- 115 g (4 oz) cream cheese, softened: Full fat cream cheese creates that luscious, tangy filling
- 1/4 cup (30 g) powdered sugar: Sift this first to avoid lumps in your filling
- 1/2 tsp vanilla extract: A second round of vanilla in the filling makes it taste like cheesecake
Instructions
- Preheat your oven:
- Set to 350°F (175°C) and line two baking sheets with parchment paper
- Whisk the dry ingredients:
- In a medium bowl, combine flour, cocoa powder, baking soda, and salt until well blended
- Cream the butter and sugar:
- Beat together until light and fluffy, about 2 minutes—this step is worth the time
- Add the wet ingredients:
- Mix in the egg yolk, milk, vanilla, and red food coloring until fully incorporated
- Combine the dough:
- Gradually fold in the dry ingredients until just combined—overmixing makes tough cookies
- Make the filling:
- Whisk cream cheese, powdered sugar, and vanilla in a small bowl until completely smooth
- Shape the cookies:
- Roll dough into 1-inch balls and place on prepared baking sheets, 2 inches apart
- Create the thumbprints:
- Gently press your thumb or a teaspoon into the center of each ball to form an indentation
- Fill the centers:
- Spoon about 1/2 teaspoon of cream cheese filling into each indentation
- Bake to perfection:
- Bake for 11–13 minutes until edges are set but centers still look slightly soft
- Cool completely:
- Let them sit on the baking sheet for 5 minutes before moving to a wire rack
 Save
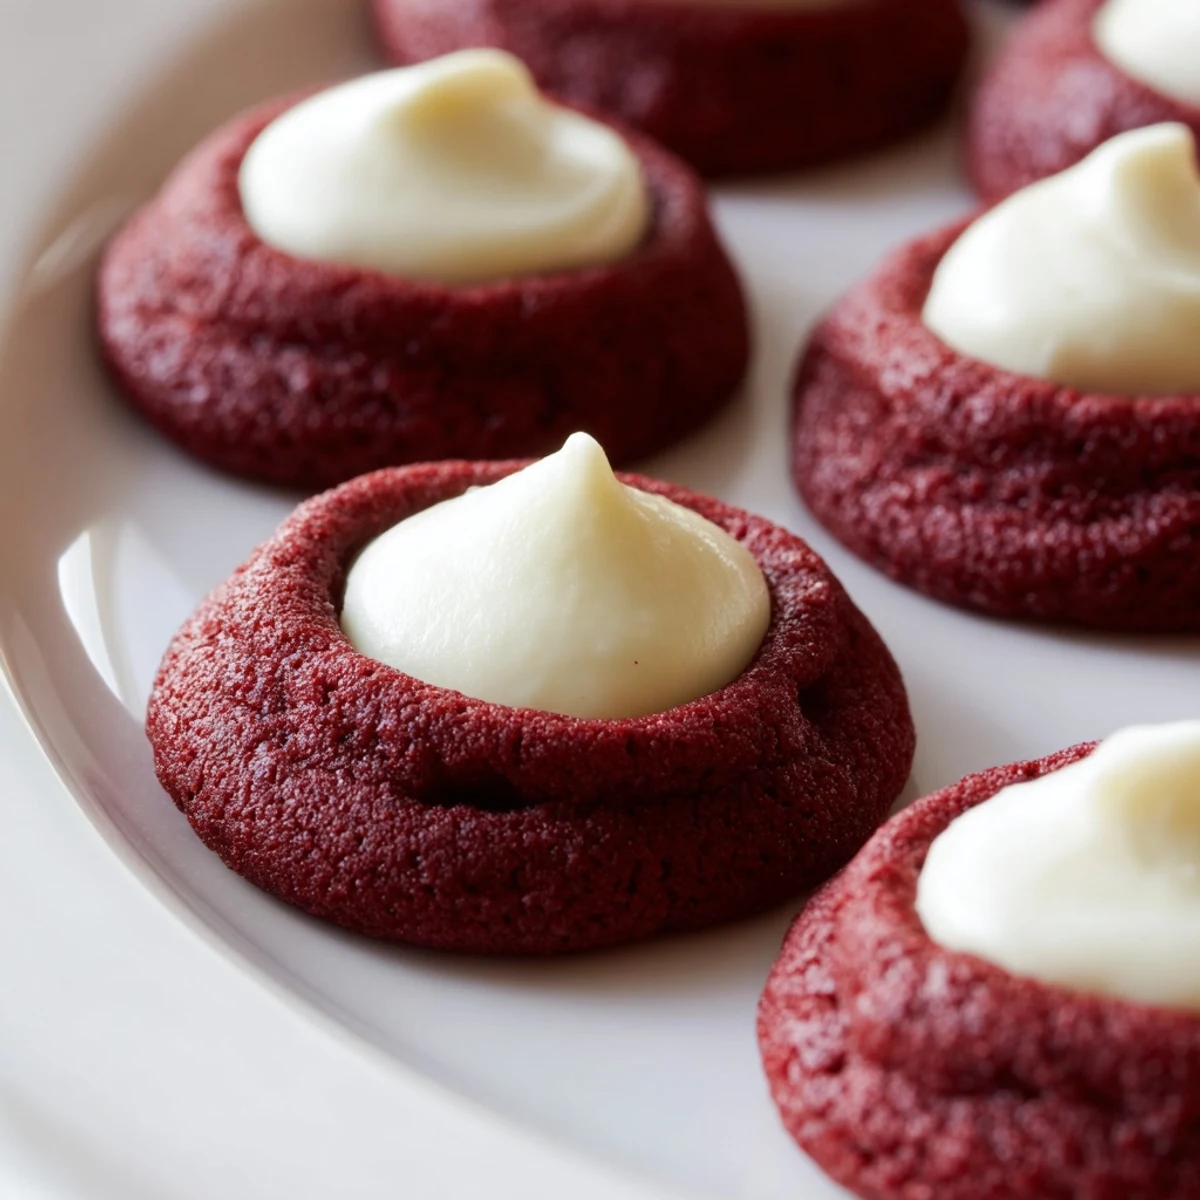
Save These cookies have become my go-to for holiday parties and office treats because they're so striking—people always assume they're from a bakery. Last year my neighbor's daughter asked if she could have the recipe after trying one at our block party, which might be the highest compliment I've ever received.
Making Them Ahead
I've learned through trial and error that you can freeze the shaped, unfilled dough balls for up to a month. Just thaw them in the refrigerator overnight before adding the filling and baking. The texture stays exactly the same, which means you can have fresh-baked red velvet cookies whenever the craving strikes.
Filling Variations
While cream cheese is classic, I've experimented with white chocolate ganache during especially indulgent weeks. Melt white chocolate with a splash of heavy cream and let it cool before filling—the result is incredibly rich. During the holidays, a pinch of peppermint extract in the filling transforms these into a winter wonderland treat.
Storage Secrets
Because of the cream cheese filling, these need to stay refrigerated. I've found that storing them in a single layer with parchment paper between prevents the cookies from sticking together. They're actually better after a day in the fridge—the flavors meld and the filling becomes even more cheesecake-like.
- Let cookies come to room temperature for 15 minutes before serving
- Place a piece of white bread in the container to keep them soft
- Avoid stacking unless you have parchment between layers
 Save
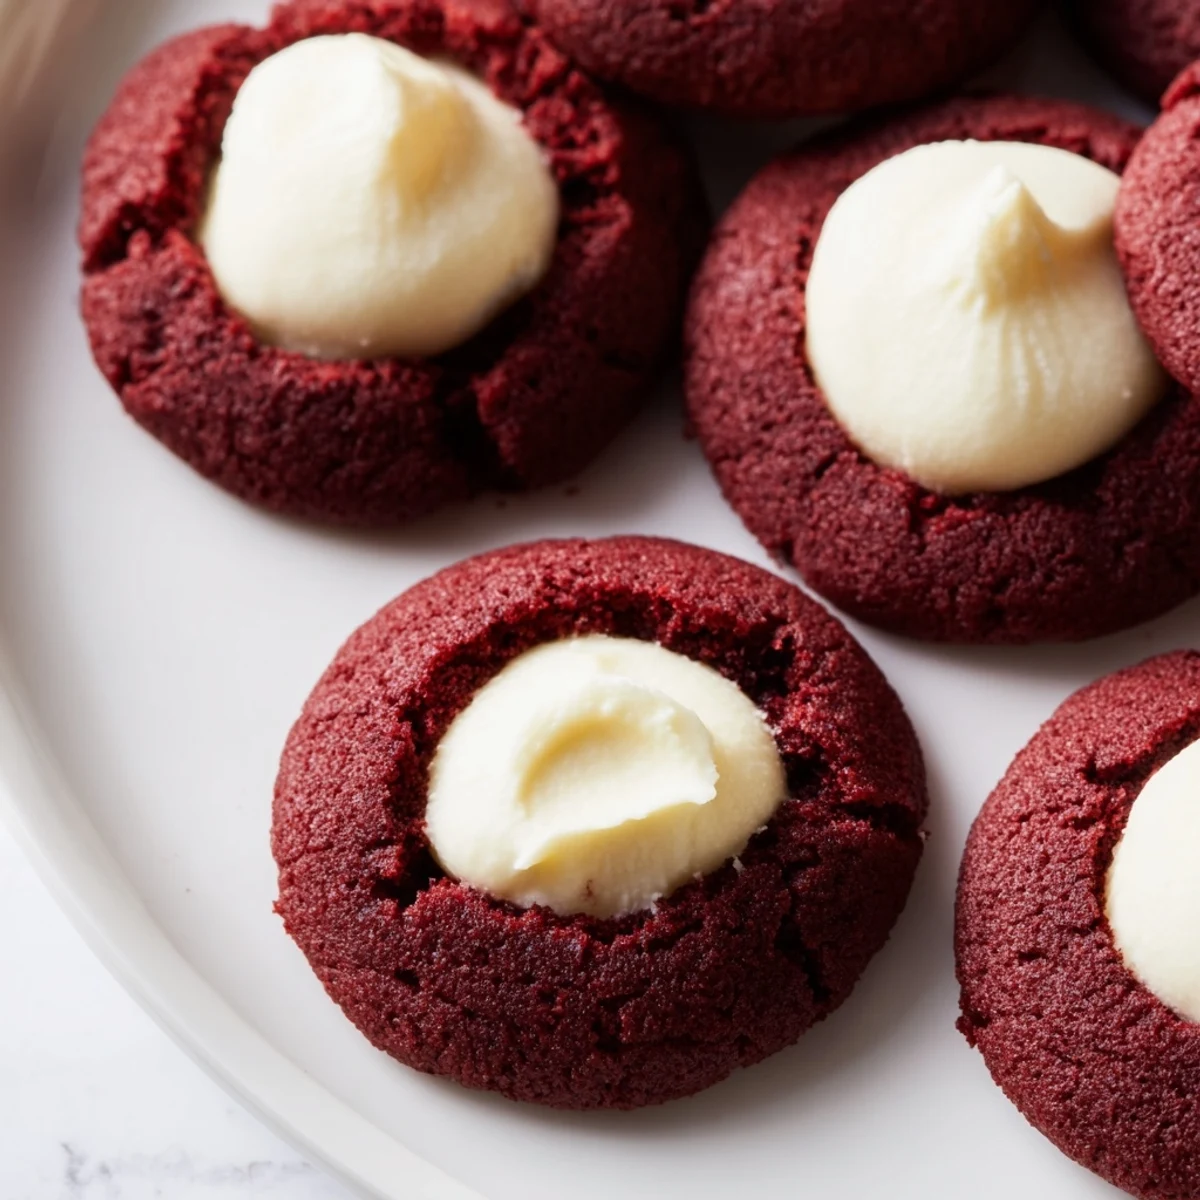
Save There's something so satisfying about pressing your thumb into that bright red dough and watching the cream cheese filling settle into place. These cookies have a way of making ordinary days feel a little more special.
Common Questions
- → What makes these cookies red velvet flavored?
-
The combination of unsweetened cocoa powder provides the classic chocolate notes while red food coloring gives them their signature vibrant hue. The tender crumb comes from the creamed butter and sugar mixture along with the egg yolk.
- → Can I use white chocolate instead of cream cheese filling?
-
Absolutely. White chocolate ganache makes an excellent alternative filling. Simply melt white chocolate with a touch of cream and fill the indentations the same way you would with the cream cheese mixture.
- → How should I store these cookies?
-
Store in an airtight container in the refrigerator for up to 4 days. The cream cheese filling requires refrigeration to maintain freshness and prevent spoilage.
- → Why did my cookies spread too much?
-
Overly soft dough or warm baking sheets can cause excessive spreading. Chill the dough for 15-20 minutes before rolling if your kitchen is warm, and always start with room-temperature baking sheets.
- → Can I freeze the dough or baked cookies?
-
You can freeze the rolled dough balls for up to 3 months. Thaw in the refrigerator before baking. Baked cookies with cream cheese filling don't freeze well as the texture changes, though unfilled baked cookies can be frozen.
- → What's the best way to create the thumbprint indentation?
-
Gently press your thumb or the back of a teaspoon into the center of each dough ball. Don't press too deeply or the dough may crack. If cracks form, simply smooth them over with your fingers before filling.