
 Save
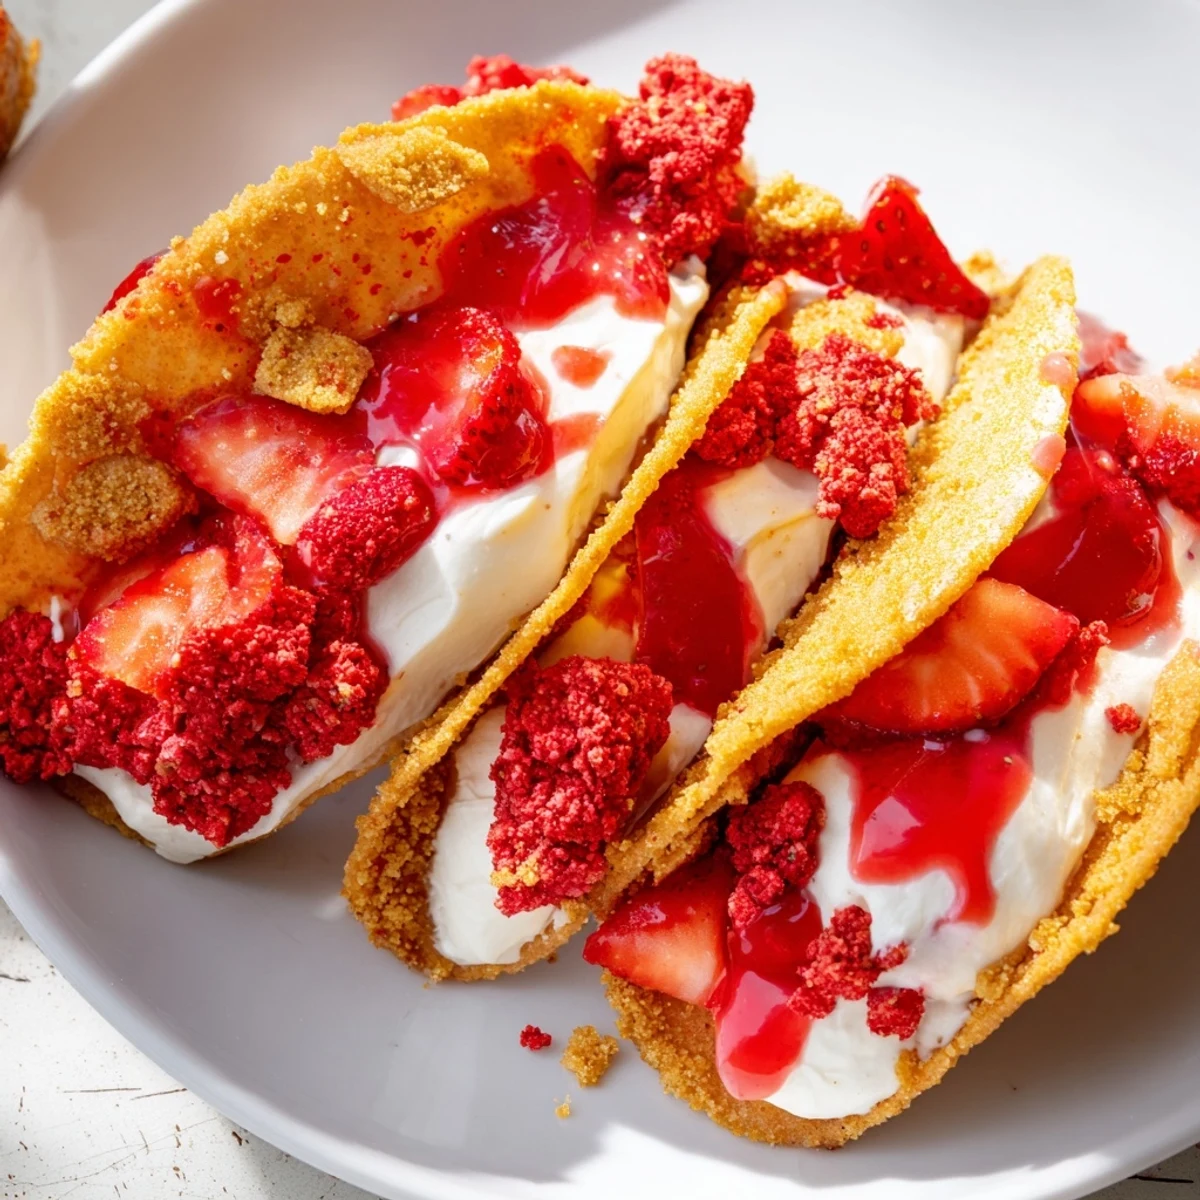
Save These strawberry crunch cheesecake tacos bring together the best textures in one handheld dessert. Mini flour tortillas are brushed with butter, dipped in cinnamon sugar, and baked into crisp taco shells.
The filling is a luscious blend of whipped cream cheese and heavy cream, piped into each shell. A crunchy topping made from crushed freeze-dried strawberries and golden sandwich cookies adds irresistible texture and fruity flavor.
Ready in just 40 minutes with no chill time required, they're perfect for parties, potlucks, or a fun weekend treat. Top with a quick fresh strawberry sauce for an extra burst of berry goodness.
My neighbor brought over a flat of strawberries one June afternoon and challenged me to make something unexpected with them. I stared at a half eaten sleeve of Golden Oreos on the counter and somehow my brain landed on tacos, dessert tacos. Two hours later we were standing in my kitchen licking cheesecake off our fingers and wondering why nobody had thought of this sooner.
I served these at my daughters backyard birthday party and watched three adults quietly abandon the actual dinner table to hover near the dessert platter. One friend texted me the next morning asking if it was weird that she had dreamed about them.
Ingredients
- Small flour tortillas: The softer and fresher the better since stale ones crack when you shape them into shells.
- Granulated sugar and ground cinnamon: This combo coats the shells and gives them that churro like warmth that makes everything taste celebratory.
- Unsalted butter, melted: Brushed generously on both sides of each tortilla circle so the cinnamon sugar actually sticks and the shells crisp properly.
- Cream cheese, softened: Leave it out for at least an hour because cold cream cheese will leave you with lumpy filling no matter how long you beat it.
- Powdered sugar: Dissolves seamlessly into the cream cheese where granulated sugar would leave a gritty texture.
- Vanilla extract: A full teaspoon may seem like a lot but it is the backbone of that classic cheesecake flavor.
- Heavy cream, cold: Whipped to stiff peaks and folded in for a mousse like lightness that makes these feel airy rather than heavy.
- Freeze-dried strawberries: These are non negotiable since fresh berries add moisture and turn the crunch into soggy crumbs.
- Golden sandwich cookies: Pulled apart and thrown in whole with the strawberries for a buttery, cookie crunch that mimics a cheesecake crust.
- Fresh strawberries, diced: For the optional sauce that pools at the bottom of each taco and soaks into the shell just enough.
- Lemon juice: Just a teaspoon to brighten the strawberry sauce and keep it from tasting flat.
Instructions
- Prepare the oven and workspace:
- Set your oven to 350F and line your counter with parchment because cinnamon sugar gets absolutely everywhere and you will thank yourself later.
- Cut and shape the taco shells:
- Use a three inch round cutter to punch circles from the tortillas, brush both sides with melted butter, and press each circle into a mix of cinnamon and sugar until evenly coated.
- Bake until golden and crisp:
- Drape the sugared circles over the bars of your oven rack or a taco mold and bake eight to ten minutes until they hold their shape and sound hollow when tapped.
- Make the strawberry crunch topping:
- Pulse the freeze dried strawberries and cookies together in a food processor until you get coarse crumbs, stopping before it becomes dust because texture is the whole point.
- Whip up the cheesecake filling:
- Beat the softened cream cheese with powdered sugar and vanilla until completely smooth, then whip the cold heavy cream separately and gently fold it in with a spatula until no white streaks remain.
- Prepare the strawberry sauce:
- Toss the diced fresh strawberries with sugar and lemon juice in a bowl and let them sit for ten minutes until they release their juices and form a glossy, spoonable sauce.
- Fill and finish the tacos:
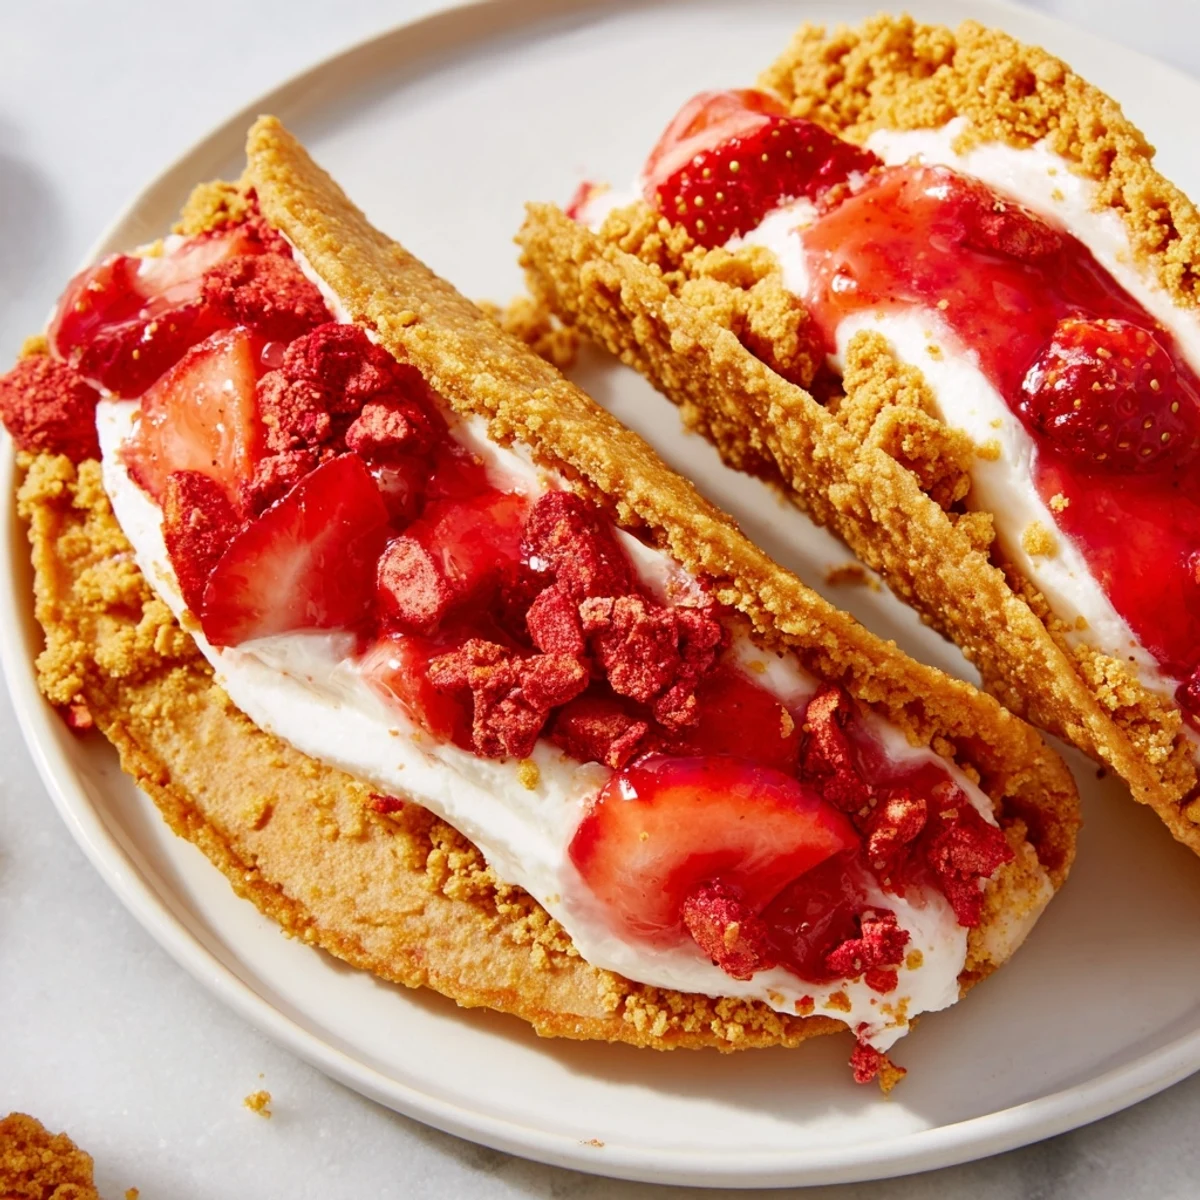
- Pipe or spoon the cheesecake filling into each cooled shell, sprinkle generously with the strawberry crunch, and drizzle with sauce right before serving so the shells stay crisp.
 Save
Save The moment I realized these were special was when my mother in law, who never asks for recipes, quietly pulled me aside and wrote the ingredients on the back of an envelope.
Getting Ahead of the Game
You can bake the taco shells and make the crunch topping up to two days in advance if you store them separately in airtight containers at room temperature. The cheesecake filling holds beautifully in the fridge for a day, but always assemble right before serving for maximum crunch.
Mixing Up the Flavors
Swap the freeze dried strawberries for raspberries or blueberries and the whole dessert transforms into something that feels completely new with zero extra effort. I once used crushed pretzels instead of cookies in the topping and the salty sweet result was the first plate emptied at a potluck.
Serving and Storing Leftovers
These are best eaten the moment they are assembled, standing around the kitchen island with napkins in hand. Leftover components keep well separately for up to three days, but assembled tacos will soften overnight in the fridge.
- Dip the shell edges in melted white chocolate and let them set before filling for extra crunch and a bakery style look.
- Use a ziplock bag with the corner snipped off if you do not have a piping bag.
- Pull them out of the fridge ten minutes before serving so the filling softens slightly and the flavors wake up.
 Save
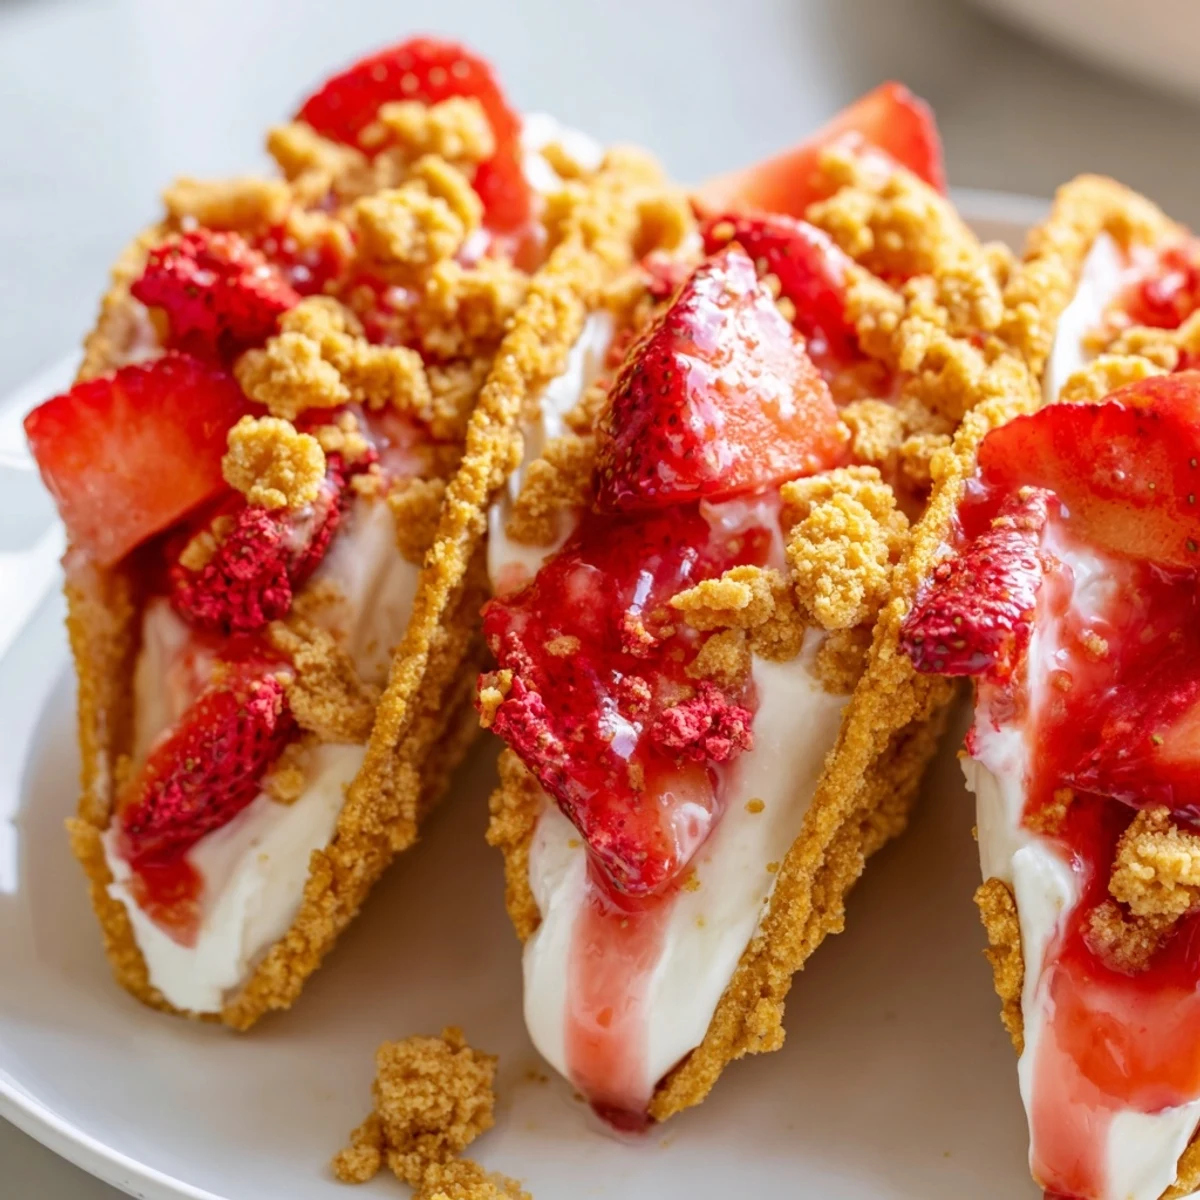
Save Some desserts are about precision and perfection but these tacos are about joy, mess, and the kind of grin that spreads when someone bites into something they did not know they needed. Make them once and they will become your most requested party trick.
Common Questions
- → Can I make the taco shells ahead of time?
-
Yes, the baked taco shells can be prepared up to 2 days in advance. Store them in an airtight container at room temperature to maintain their crispness. Avoid refrigerating them as moisture can make them soggy.
- → What can I use instead of a taco rack for baking?
-
If you don't have a taco rack, simply drape the tortilla circles over two parallel bars of your oven rack. Alternatively, you can fold aluminum foil into a crumpled rope shape and place the tortillas over it on a baking sheet to hold the taco shape while baking.
- → Can I substitute fresh strawberries for freeze-dried in the crunch topping?
-
Freeze-dried strawberries work best for the crunch topping because they provide intense flavor and a dry, crumbly texture. Fresh strawberries contain too much moisture and would make the topping soft and soggy rather than crunchy.
- → How far in advance can I assemble these?
-
For the best texture contrast, assemble no more than 1 hour before serving. The filling stays fresh in the refrigerator, but the taco shells will gradually soften from the moisture. If preparing ahead, keep shells, filling, and topping stored separately and assemble just before serving.
- → What other fruits work well for the crunch topping?
-
Freeze-dried blueberries, raspberries, or mango all make excellent alternatives to strawberries. You can also mix fruits for a more complex flavor. Stick with freeze-dried varieties to maintain that satisfying crunch.
- → Is there a gluten-free option for the tortilla shells?
-
Gluten-free flour tortillas are available at most grocery stores and work well as a substitute. Check that the cookies used for the crunch topping are also gluten-free, or replace them with gluten-free vanilla wafers or graham crackers for similar results.