Save
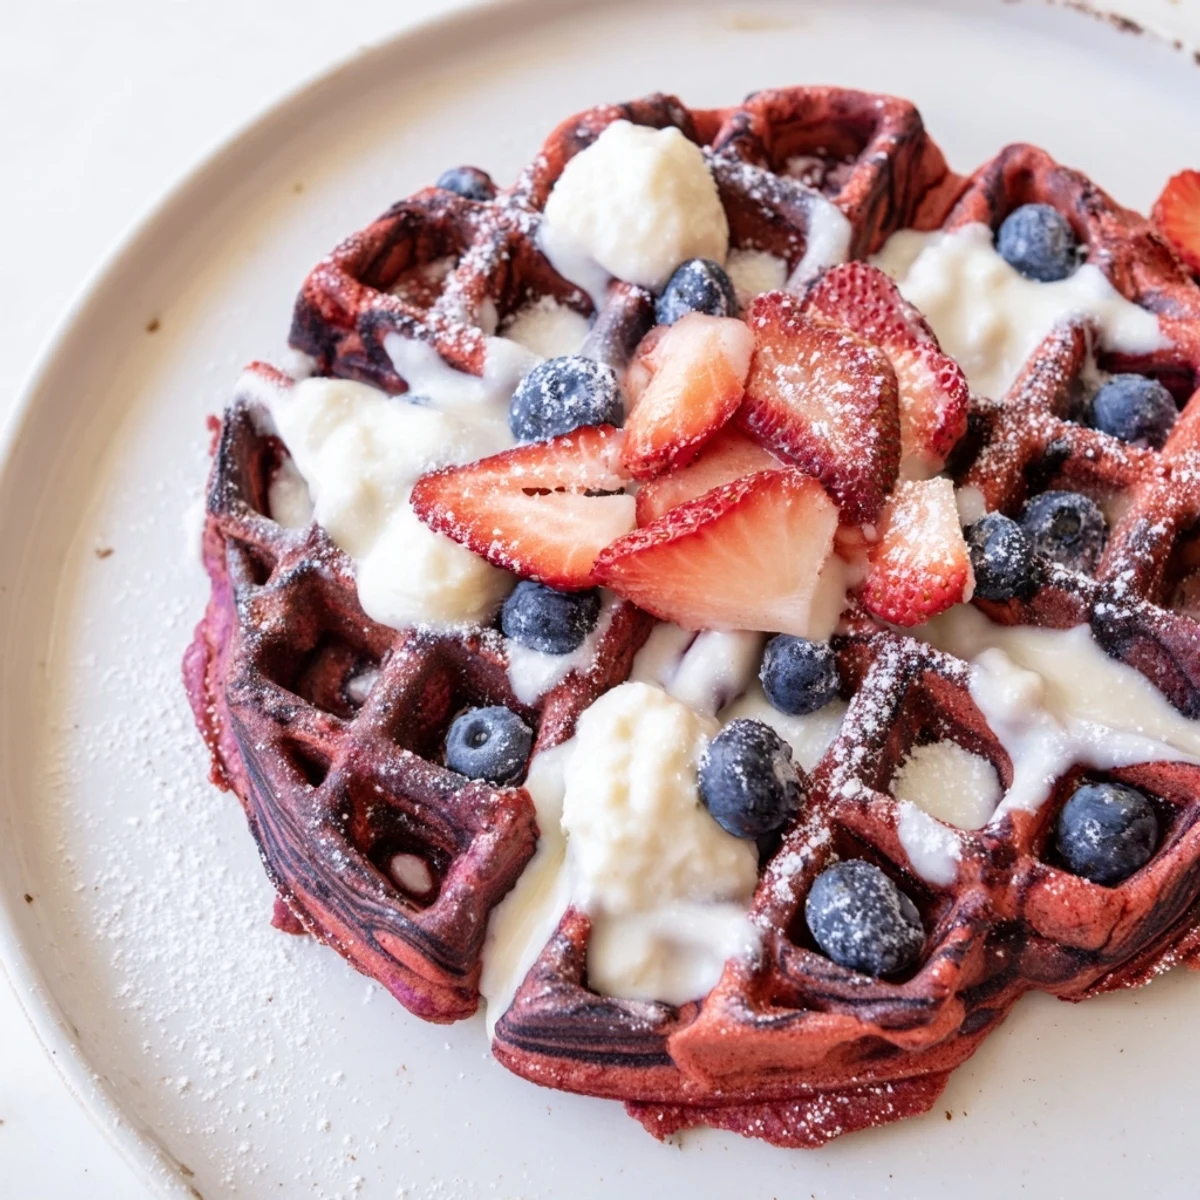
Save These striking waffles combine rich cocoa-infused red velvet batter with classic vanilla for a gorgeous marbled presentation. The buttermilk base ensures tender, fluffy interiors while achieving perfectly crisp edges. Each batch takes just 3-5 minutes to cook, making them ideal for weekend entertaining or holiday mornings.
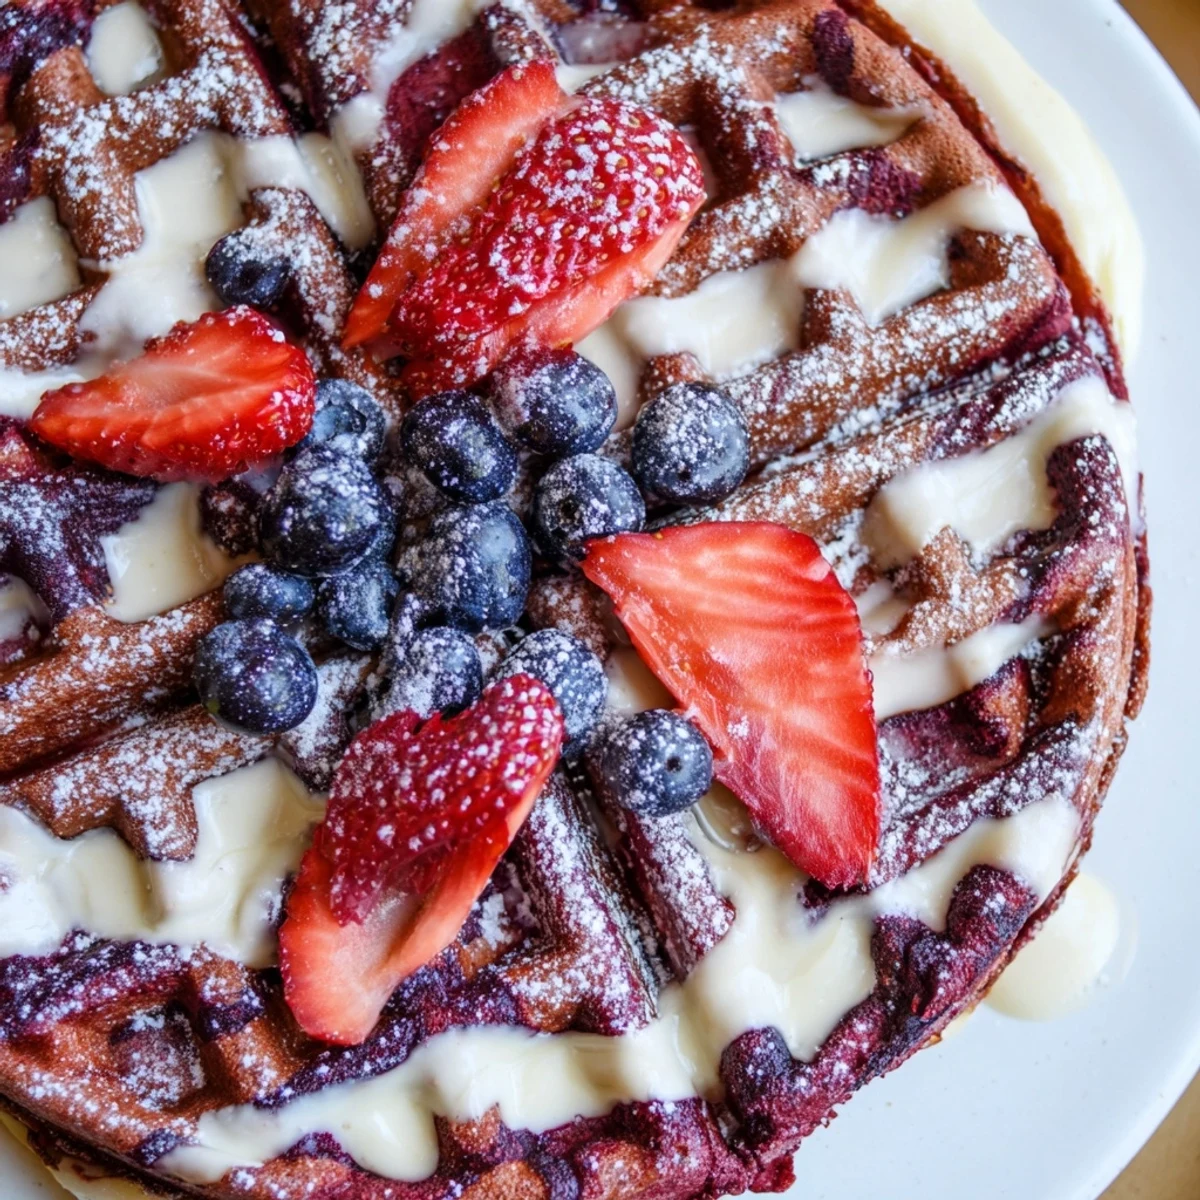
The swirling technique creates visual appeal reminiscent of bakery treats, while the cream cheese glaze option elevates them into dessert territory. Versatile enough for various toppings from fresh berries to whipped cream, these waffles adapt beautifully to different occasions and preferences.
Last February, when everything outside was gray and uninspiring, I decided my kitchen needed a serious dose of color. I had been making classic waffles for years, but that morning I grabbed the red food coloring on a whim and created something that made my daughters eyes widen like saucers. Now every time she spots that red bottle in the pantry, she gives me this knowing look that means we are absolutely having these for breakfast tomorrow.
My sister in law stayed over last spring and caught me mid swirl, convinced I had bought some fancy gourmet mix from a bakery. When I showed her the two bowls of batter and how simple the marble effect actually was, she admitted she had been intimidated by red velvet for years. We ended up making three batches that morning, experimenting with different swirl patterns and eating far too many while standing at the counter.
Ingredients
- All-purpose flour: The structure here is crucial for those crisp edges we want, do not substitute with cake flour or you will lose the waffle texture completely
- Buttermilk: Room temperature buttermilk creates the tenderest crumb and reacts perfectly with the baking soda for lift
- Unsalted butter: Melt it first but let it cool slightly so it does not scramble your eggs when they meet
- Cocoa powder: Just enough to give depth without turning these into chocolate waffles, red velvet needs that subtle background note
- Red food coloring: Gel coloring gives the most vibrant red without thinning your batter, but liquid works fine too
Instructions
- Mix your dry base:
- Whisk the flour with sugar, baking powder, baking soda, and salt in a large bowl until everything is evenly distributed
- Combine the wet ingredients:
- In a separate bowl, whisk the buttermilk, eggs, melted butter, and vanilla until completely smooth
- Bring them together gently:
- Fold the wet mixture into the dry ingredients just until combined, some small lumps are perfectly fine and actually prevent tough waffles
- Split and color:
- Divide the batter between two bowls, then stir cocoa powder and red food coloring into one until fully incorporated
- Get your iron ready:
- Preheat your waffle iron and give it a light coating of oil or cooking spray
- Create the marble magic:
- Drop alternating spoonfuls of red and vanilla batters onto the center, then use a chopstick or butter knife to give them just two or three gentle swirls
- Cook to perfection:
- Close the lid and cook until golden and crisp, usually 3 to 5 minutes depending on your waffle iron
 Save
Save These became my go to birthday breakfast request after I made them for my best friend who firmly believes breakfast is the most important meal of any celebration day. She still talks about how the combination of cream cheese glaze and warm marbled waffles made her feel like she was eating dessert first thing in the morning.
Getting That Cream Cheese Drizzle Right
Mix your cream cheese glaze while the waffles cook so it is ready to pour the moment they come off the iron. The heat helps it melt into every crevice instead of sitting on top like a sad puddle.
Making These Ahead
Leftovers reheat beautifully in the toaster and stay surprisingly crisp, unlike most waffles that turn soggy or tough. I have started making double batches on Sunday just for easy weekday breakfasts.
Customization Ideas
My neighbor adds chocolate chips to the red velvet batter for extra indulgence, while my cousin swears by folding in chopped pecans for that classic red velvet pairing. You really cannot go wrong here.
- Try a maple cream cheese glaze by swapping maple syrup for the milk in your drizzle
- Fresh berries between layers cut through the richness beautifully
- These freeze exceptionally well if you want to stock up for busy mornings
 Save
Save There is something genuinely joyful about cutting into a waffle that looks like edible art, and I promise these will disappear faster than any plain breakfast you have made before.
Common Questions
- → How do I achieve the perfect marble effect?
-
Alternate spoonfuls of red velvet and vanilla batters onto your waffle iron, then gently swirl once with a chopstick or butter knife. Avoid over-swirling, which can muddy the distinct colors and patterns.
- → Can I make the batter ahead of time?
-
Yes, prepare both batters and store separately in airtight containers in the refrigerator for up to 12 hours. The leavening agents work best when used relatively soon after mixing, so avoid longer storage.
- → What substitutes work for buttermilk?
-
Greek yogurt thinned with milk creates a similar tang and thickness. Alternatively, mix regular milk with 1 tablespoon of vinegar or lemon juice per cup and let stand for 5 minutes before using.
- → How do I store leftover waffles?
-
Cool completely on a wire rack, then freeze in single layers with parchment paper between. Reheat in a toaster or 350°F oven for 5 minutes to restore crispiness. Avoid microwaving, which makes them soggy.
- → Can I reduce the food coloring?
-
Yes, start with ½ teaspoon and adjust based on your desired color intensity. Gel coloring typically requires less than liquid versions. Natural beet juice powder offers an alternative with subtle pink-red hues.
- → What toppings pair best?
-
Cream cheese glaze complements the tangy cocoa notes beautifully. Fresh strawberries, raspberries, or whipped cream enhance the visual appeal. Maple syrup provides classic contrast to the cocoa flavors.