 Save
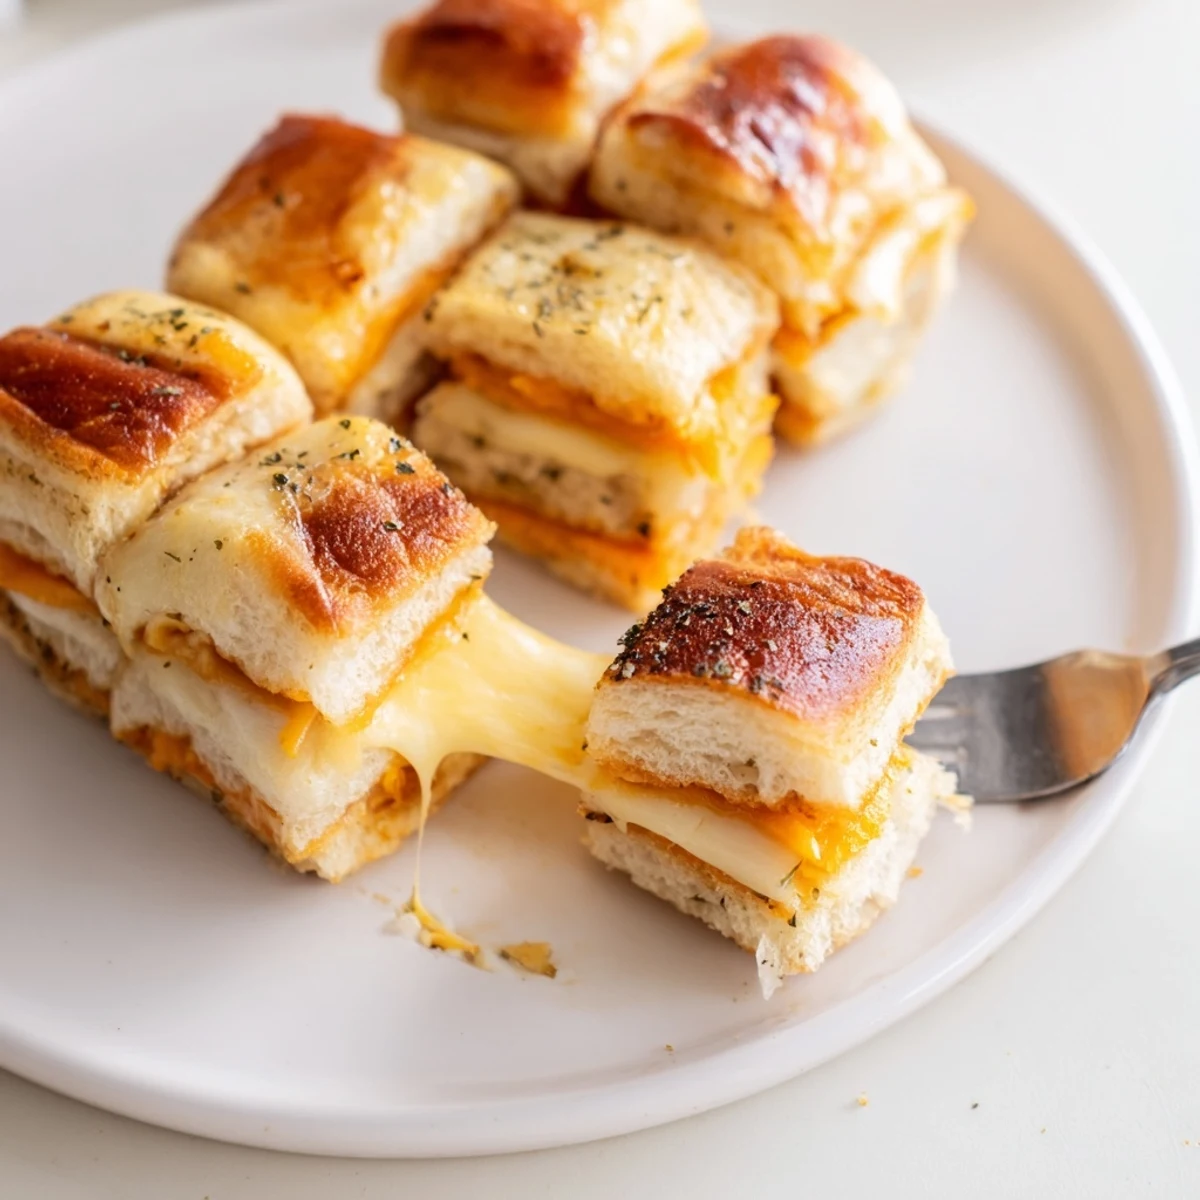
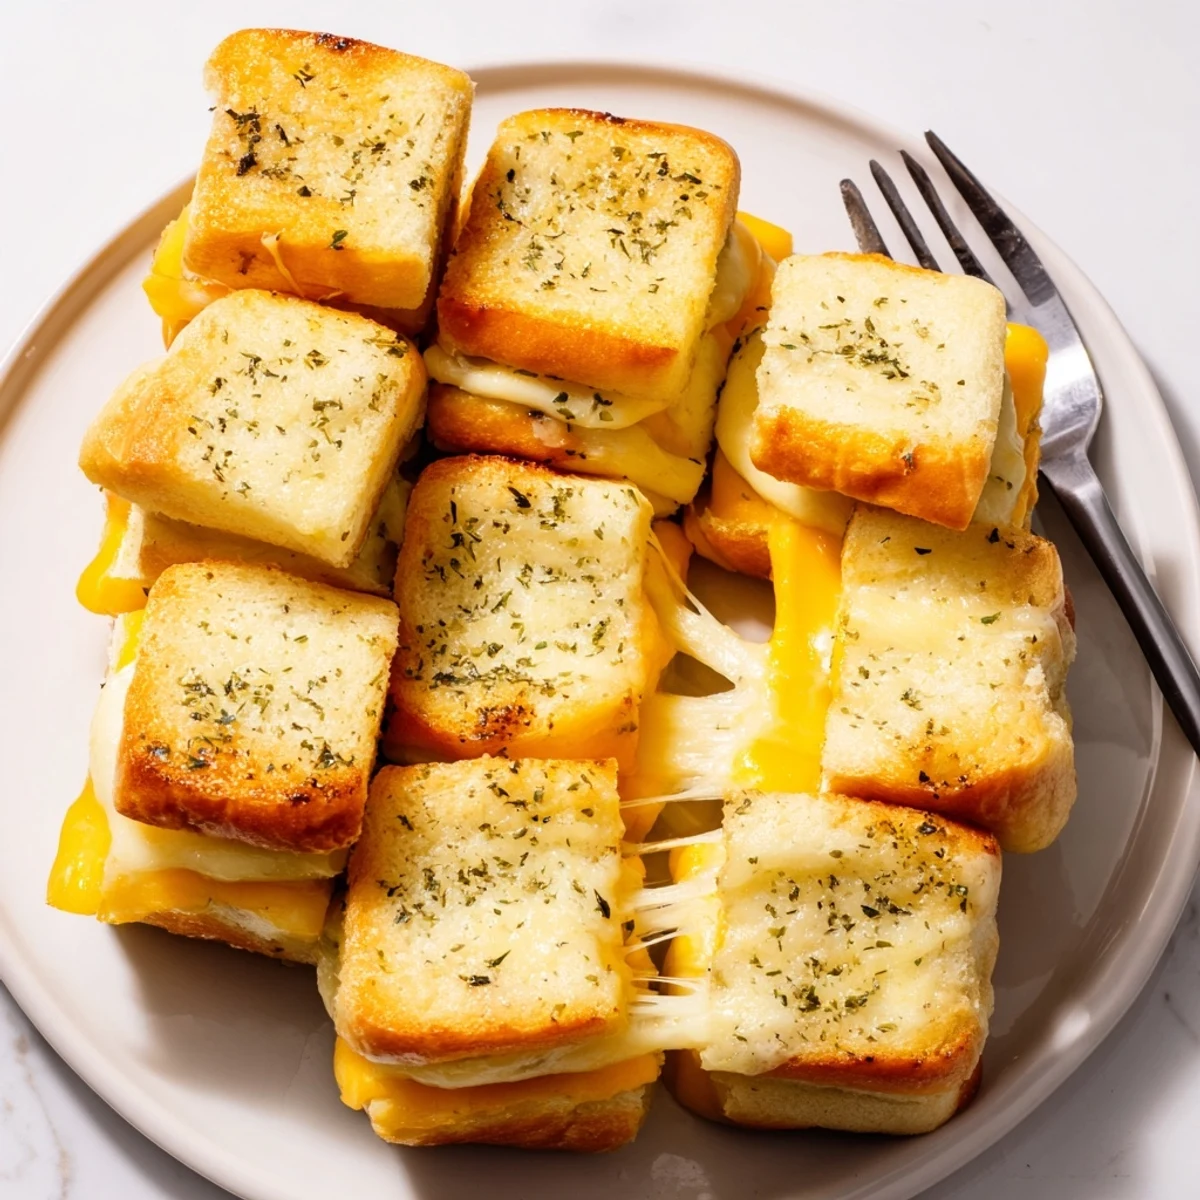
Save Slice a 12-count block of Hawaiian rolls horizontally, layer cheddar and mozzarella on the bottom half, replace the top, and brush with melted butter mixed with garlic powder and parsley. Cover and bake at 350°F for 10 minutes, uncover and bake 5 more minutes until cheese is fully melted and tops are golden. Let cool, separate into 12 mini sandwiches and serve warm.
The rain was hammering against the kitchen window and my niece appeared in the doorway, backpack still on, demanding something cheesy and warm before shed even taken her shoes off. I had a pack of Hawaiian rolls sitting on the counter and a block of cheddar that needed using, so I improvised. Thirty minutes later we were sitting on the floor around the coffee table pulling apart these ridiculous little sandwiches, and she declared them better than any restaurant. Shes never let me forget them, and honestly neither have I.
I brought a tray of these to a friends potluck movie night and they disappeared so fast I didnt even get one. Someone texted me the next morning asking for the recipe, and three other people chimed in with the same request before noon.
Ingredients
- 1 package (12 count) Hawaiian rolls: The sweetness is what makes these special, so dont substitute with regular dinner rolls if you can help it.
- 8 oz (225 g) cheddar cheese, sliced: Sharp cheddar gives you the best tang, but mild works fine if thats what you have on hand.
- 4 oz (115 g) mozzarella cheese, sliced: This is your stretch factor and it balances the sharpness of the cheddar beautifully.
- 4 tbsp unsalted butter, melted: Unsalted lets you control the seasoning, and you need every bit of it for a crisp golden top.
- 1 tsp garlic powder: Granulated garlic disperses evenly into the butter without burning like fresh garlic would.
- 1 tsp dried parsley: Mostly for color and a hint of freshness, though you could swap it for Italian seasoning if you want more complexity.
- Sea salt to taste: Just a pinch lifts everything, especially if your butter is on the bland side.
Instructions
- Get the oven ready:
- Preheat to 350F (175C) and line a baking sheet with parchment paper so nothing sticks and cleanup is effortless.
- Slice the slab:
- Keep the rolls connected and slice the entire block in half horizontally with a serrated knife, using a gentle sawing motion so you dont compress the bread.
- Build the cheese layer:
- Set the bottom half on your baking sheet and tuck cheddar slices edge to edge, then lay mozzarella over the top so every bite gets both cheeses.
- Cap it off:
- Place the top half of the rolls back on and press down just gently so the sandwich holds together as a unit.
- Whisk the butter mixture:
- Stir melted butter with garlic powder, parsley, and salt in a small bowl until it smells like something you want to drizzle on everything.
- Brush generously:
- Paint the butter all over the tops and sides, letting it pool into the crevices between rolls because thats where the best crunch happens.
- Covered bake:
- Loosely tent with foil and bake for 10 minutes so the cheese melts through without drying out the bread.
- Finish uncovered:
- Remove the foil and bake 5 more minutes until the tops turn golden and you can see cheese bubbling at the edges.
- Pull apart and serve:
- Let them rest for just a couple of minutes so you dont burn your mouth, then separate into individual mini sandwiches and serve while warm.
 Save
Save One snowy evening my partner and I ate an entire tray of these hunched over the kitchen counter with bowls of tomato soup, not even bothering to move to the table. It was one of those meals that felt more like a secret we were getting away with than actual dinner.
Cheese Swaps Worth Trying
Gruyre adds a nutty depth that feels unexpectedly fancy for something this simple, and pepper jack brings a slow heat that plays beautifully with the sweet roll. Swiss is mellow and melty if you want something more subtle, and Ive even tossed in a few strips of caramelized onion when I had time to spare.
Serving Ideas Beyond the Obvious
Tomato soup is the natural pairing and honestly hard to beat, but a side of marinara for dipping turns them into something reminiscent of a mozzarella stick. They also disappear quickly next to a big green salad when you want to pretend youre having a balanced meal.
Storage and Reheating
Leftovers keep well in an airtight container in the fridge for up to three days, though the bread softens overnight and never quite recovers its original texture.
- An air fryer at 350F for about 3 minutes brings back the crunch better than anything else.
- A regular oven at 325F for 8 minutes works if you cover loosely with foil to prevent overbrowning.
- Microwaving works in a pinch but you will lose the crisp top entirely, so manage your expectations.
 Save
Save Keep a tray of these in your back pocket for every game night, rainy afternoon, or last minute guest situation that comes your way. They are small, warm, and impossible to eat just one of.
Common Questions
- → What cheeses work best?
-
Sharp cheddar provides flavor while mozzarella adds stretch. For variation, use Gruyère or Swiss for nuttiness, or pepper jack for a spicy kick.
- → How do I avoid soggy rolls?
-
Keep cheeses sliced thin and bake long enough to allow excess moisture to evaporate. Brushing tops with butter rather than soaking the interior helps maintain texture.
- → Can I prepare ahead?
-
Assemble and brush with butter, then cover and refrigerate up to a day. Bake just before serving to ensure the cheese melts and tops turn golden.
- → How should leftovers be reheated?
-
Reheat in a preheated oven or air fryer for a few minutes to crisp the tops and remelt the cheese; avoid the microwave to prevent sogginess.
- → Any simple add-ins to boost flavor?
-
Thin tomato slices, sautéed onions, or a sprinkle of sesame seeds on the buttered tops add brightness and texture without overpowering the cheese.
- → What temperature and timing are ideal?
-
Bake at 350°F: covered for 10 minutes to melt cheese, then uncovered for 5 minutes to brown tops; adjust slightly for ovens that run hot or cool.