 Save
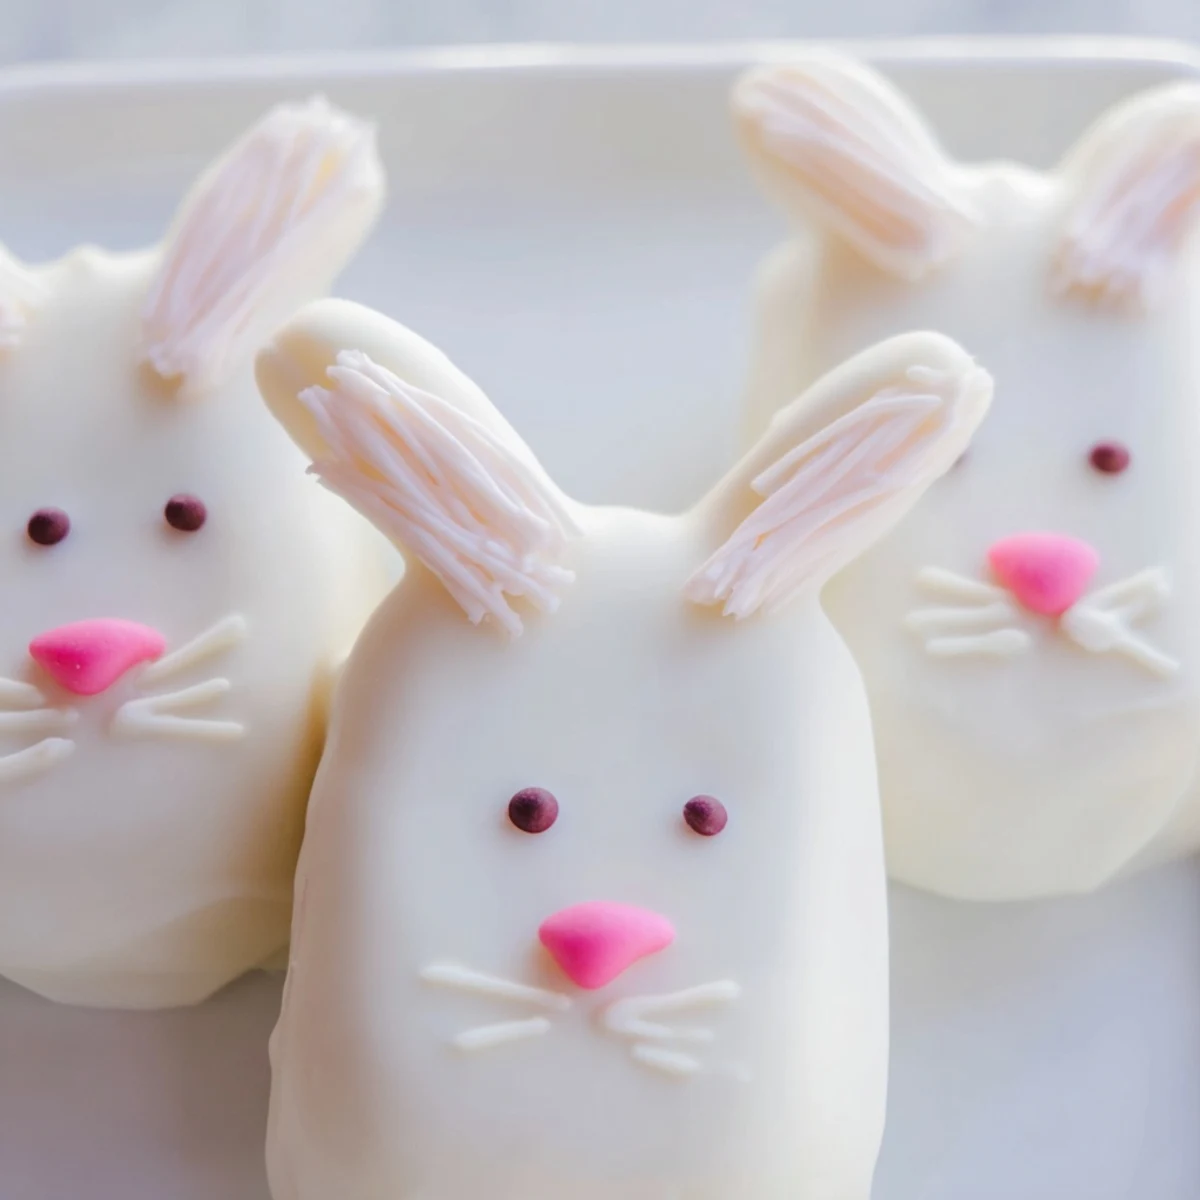
Save These delightful bunny-shaped cakesicles combine moist vanilla cake with creamy white chocolate coating, creating the perfect handheld Easter dessert. The cake mixture uses simple ingredients like vanilla cake crumbs, cream cheese, butter, and powdered sugar to form a dough that holds its shape beautifully when dipped.
Each cakesicle takes on an adorable bunny face form, complete with edible decorations like candy eyes, sprinkles, and fondant ears. The white chocolate coating provides a smooth, sweet shell that complements the tender cake interior perfectly. These festive treats come together in just one hour and yield eight generous portions.
Customize your bunnies with different food coloring shades for ears and noses, or create a marbled effect by swirling pink coloring into the white chocolate. Store them in the refrigerator for up to three days, making them ideal for preparing ahead of your Easter gathering.
The first Easter I made these, my kitchen counter looked like a pastel explosion with sprinkles everywhere and white chocolate fingerprints on every surface. My niece wandered in, wide-eyed at the bunny-shaped treats taking over the kitchen, and immediately volunteered as chief decorator. Something about cakesicles makes people forget their age and just dive in with both hands.
Last year I set up a decorating station at our family Easter brunch and watched grown adults argue over who got to use the pink candy pearls first. The best part was seeing my usually serious brother carefully attach tiny fondant ears with surgical precision, completely absorbed in making his bunny look just right. These treats have a way of bringing out creativity in everyone.
Ingredients
- Vanilla cake crumbs: Using slightly stale cake actually works better here since it absorbs the binding ingredients without becoming gummy
- Cream cheese and butter: Both must be truly softened or you will end up with frustrating lumps that refuse to incorporate smoothly
- Powdered sugar: This tiny amount helps balance the tang from cream cheese while adding structure without making the mixture too sweet
- White chocolate: Candy melts are easier for beginners but real white chocolate has a superior flavor if you are comfortable tempering it
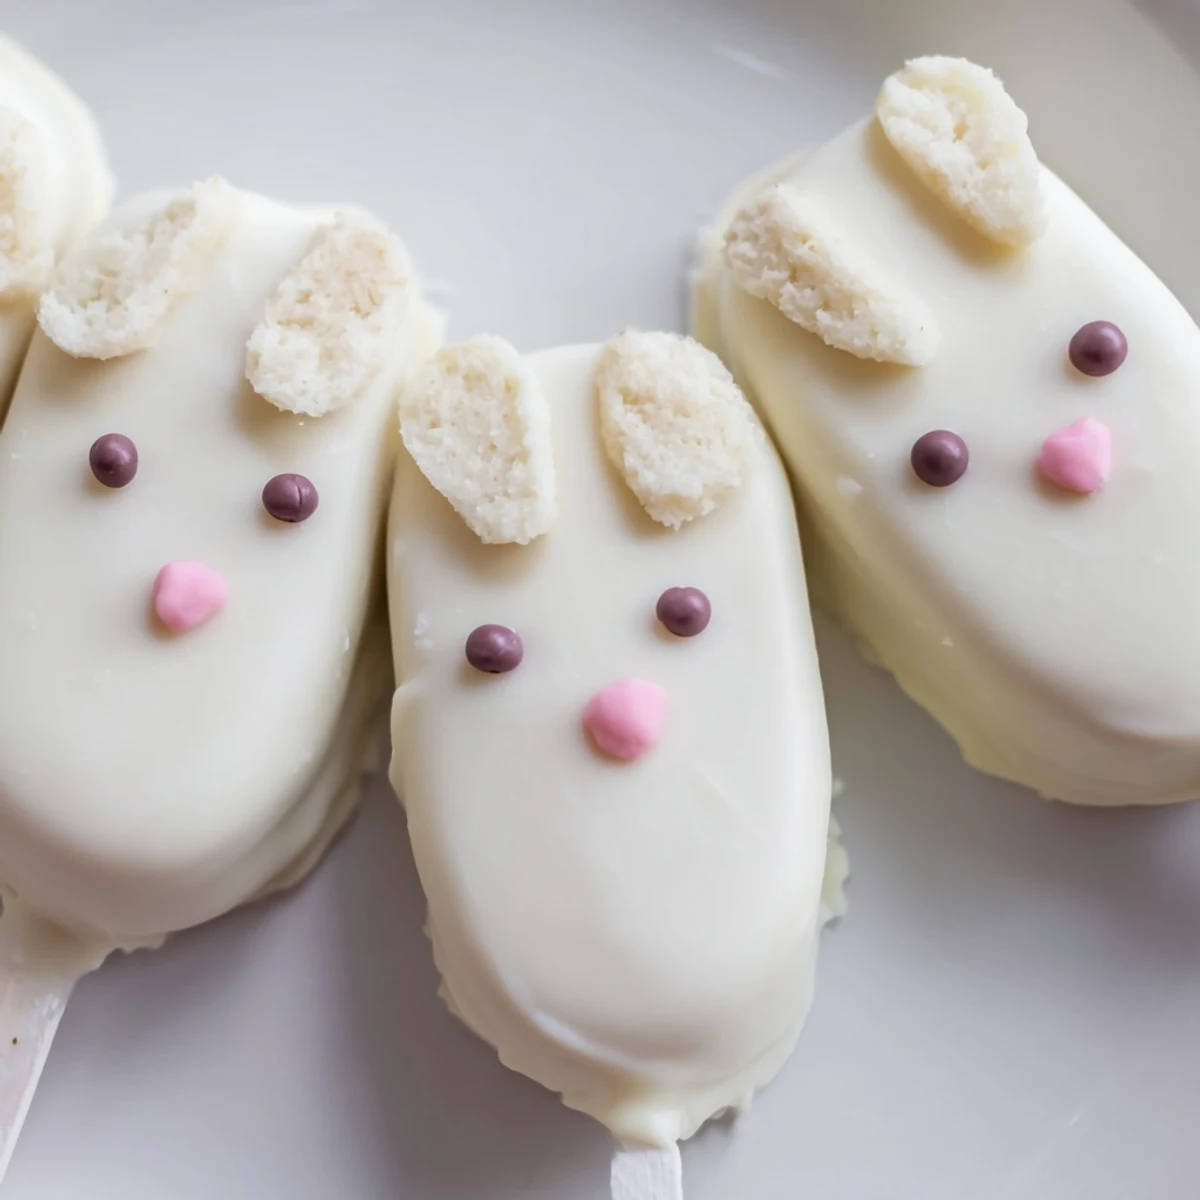
- Cakesicle sticks: Insert these at an angle rather than straight down for better stability and less chance of your bunny sliding off
Instructions
- Mix your cake base:
- Combine all the cake mixture ingredients in a medium bowl, using your hands to really work everything together until it holds together when squeezed. The dough should feel like soft playdough, not sticky or crumbly.
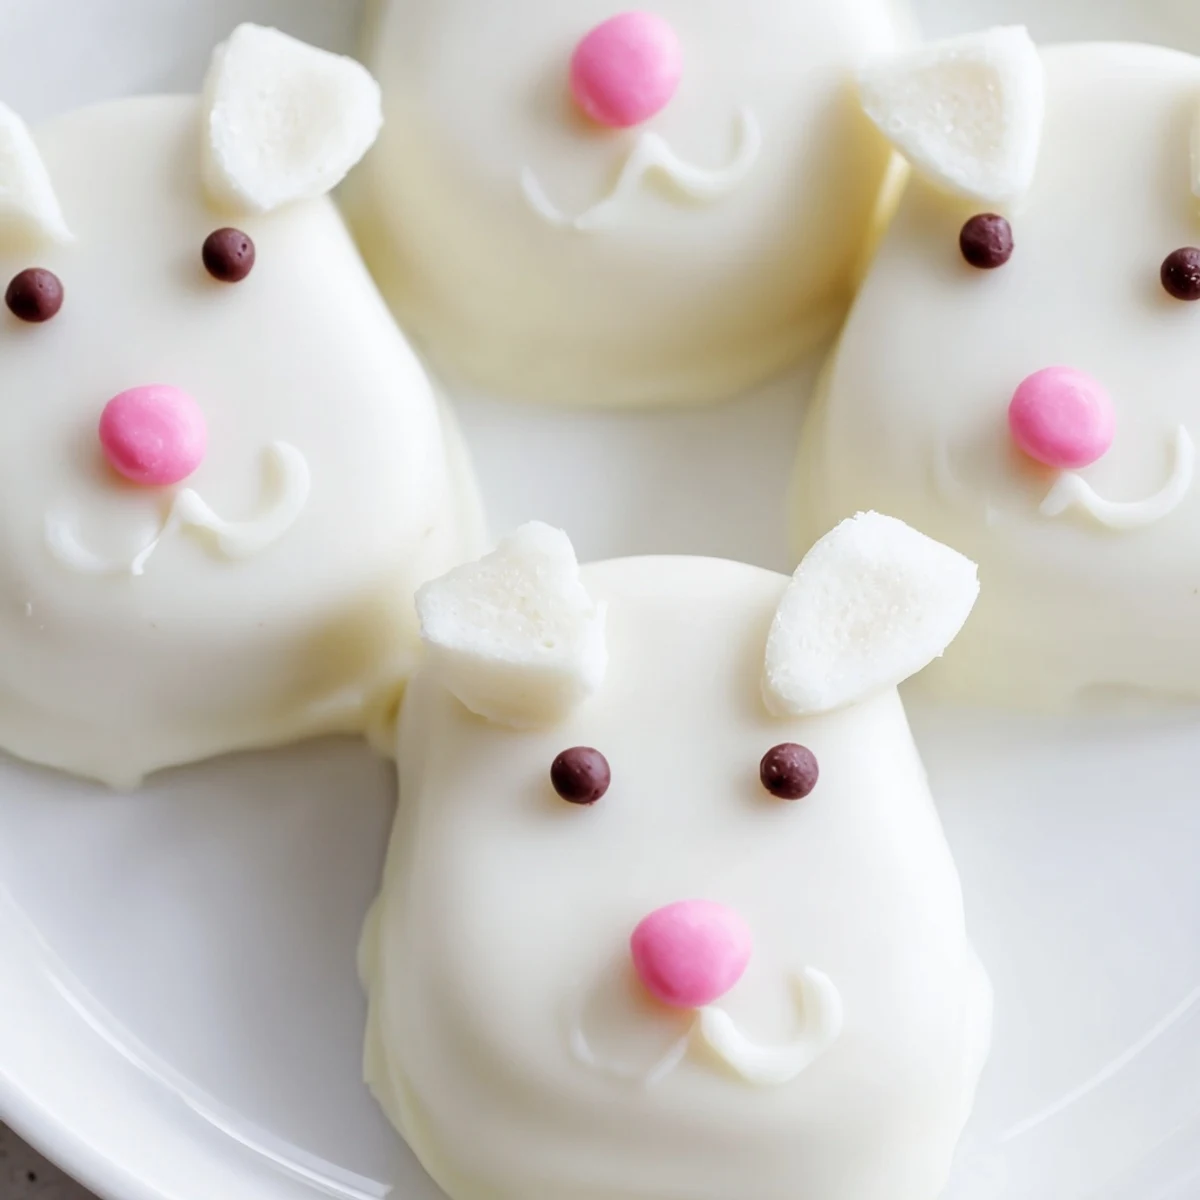
- Shape your bunnies:
- Portion the mixture into 8 equal pieces and gently flatten each into an oval shape with slightly pointed ends, resembling a bunny face. Press them onto a parchment-lined tray to get that flat bottom surface.
- Add the sticks:
- Push a cakesicle stick about halfway into each shape, then smooth any cracks around the base with your finger. Refrigerate for at least 20 minutes because cold cake centers are much easier to coat without falling apart.
- Melt the coating:
- Melt your white chocolate in 30-second intervals, stirring between each, until you have a silky smooth consistency. Let it cool slightly so it is not too hot when you dip.
- Dip and decorate:
- Dip each cake shape into the chocolate, tapping gently against the bowl edge to remove excess while the chocolate is still wet. Immediately add your decorations because they will not stick once the coating sets.
- Set and serve:
- Let the cakesicles harden completely at room temperature, which takes about 15 to 20 minutes. Store them in the fridge until you are ready to display them, but bring them out 10 minutes before serving for the best texture.
 Save
Save These became a tradition in our house after that first chaotic Easter, and now I cannot imagine the holiday without a batch sitting on the dessert table. Something about them makes people pause and smile before reaching in.
Getting That Perfect Coating
The temperature of your white chocolate makes or breaks the final look. If it is too hot, the cake will start to melt and you will see crumbs floating through your coating. If it is too cool, it will be thick and leave uneven spots. Aim for the consistency of warm honey when you dip.
Decoration Ideas That Work
Sprinkles are classic but consider draping tiny pieces of fruit leather for ears or using heart-shaped sprinkles turned sideways as noses. The key is attaching decorations while the chocolate is still tacky, otherwise nothing will stay put.
Storage And Make Ahead Tips
You can form the cake centers up to two days ahead and store them tightly wrapped in the refrigerator. The dipping and decorating should happen within 24 hours of serving for the freshest appearance.
- If your white chocolate coating develops those annoying white spots, it is just blooming from temperature changes and does not affect the taste
- Stand the finished cakesicles upright in a glass filled with uncooked rice to dry without getting flat spots
- A quick blast with a hair dryer can smooth out any rough spots in the coating before it fully sets
 Save
Save There is something genuinely satisfying about biting through that crisp chocolate shell into the soft, creamy center. Happy Easter baking.
Common Questions
- → What type of cake works best for cakesicles?
-
Vanilla cake crumbs work beautifully, whether from homemade cake, cupcakes, or store-bought varieties. The key is creating fine, consistent crumbs that bind well with the cream cheese mixture. You can also experiment with chocolate, lemon, or red velvet cake for different flavor variations.
- → How do I prevent the cakesicles from falling off the sticks?
-
Ensure the cake mixture is firm enough by refrigerating for at least 20-30 minutes before dipping. Insert the sticks about halfway into the shaped cake and gently press the mixture around the stick to secure it. Working with chilled cakesicles helps them maintain their shape during the dipping process.
- → Can I make these ahead of time?
-
Absolutely! These store wonderfully in an airtight container in the refrigerator for up to 3 days. The white chocolate coating helps keep the cake moist and fresh. You can also freeze undecorated cakesicles for up to a month, then thaw and decorate when ready to serve.
- → What alternatives work for bunny ear decorations?
-
Fondant and modeling chocolate are excellent choices for creating shaped ears that hold their form. Pretzel sticks dipped in colored coating also make adorable ears. Marshmallow slices, candy melts, or even carefully cut fruit leather can work for creative variations on the classic bunny ear look.
- → How do I get a smooth white chocolate coating?
-
Melt the white chocolate in 30-second bursts, stirring thoroughly between each interval to prevent overheating. The chocolate should be completely smooth and fluid. When dipping, tap the stick gently against the bowl edge to remove excess chocolate, then let any drips fall off before placing on parchment paper to set.
- → Can I use candy melts instead of real white chocolate?
-
Yes, candy melts are actually easier to work with for coating since they're formulated specifically for dipping and decorating. They melt smoothly and set up firmly at room temperature. White chocolate melts are perfect for achieving that bright white color, though real white chocolate offers a richer flavor profile.