 Save
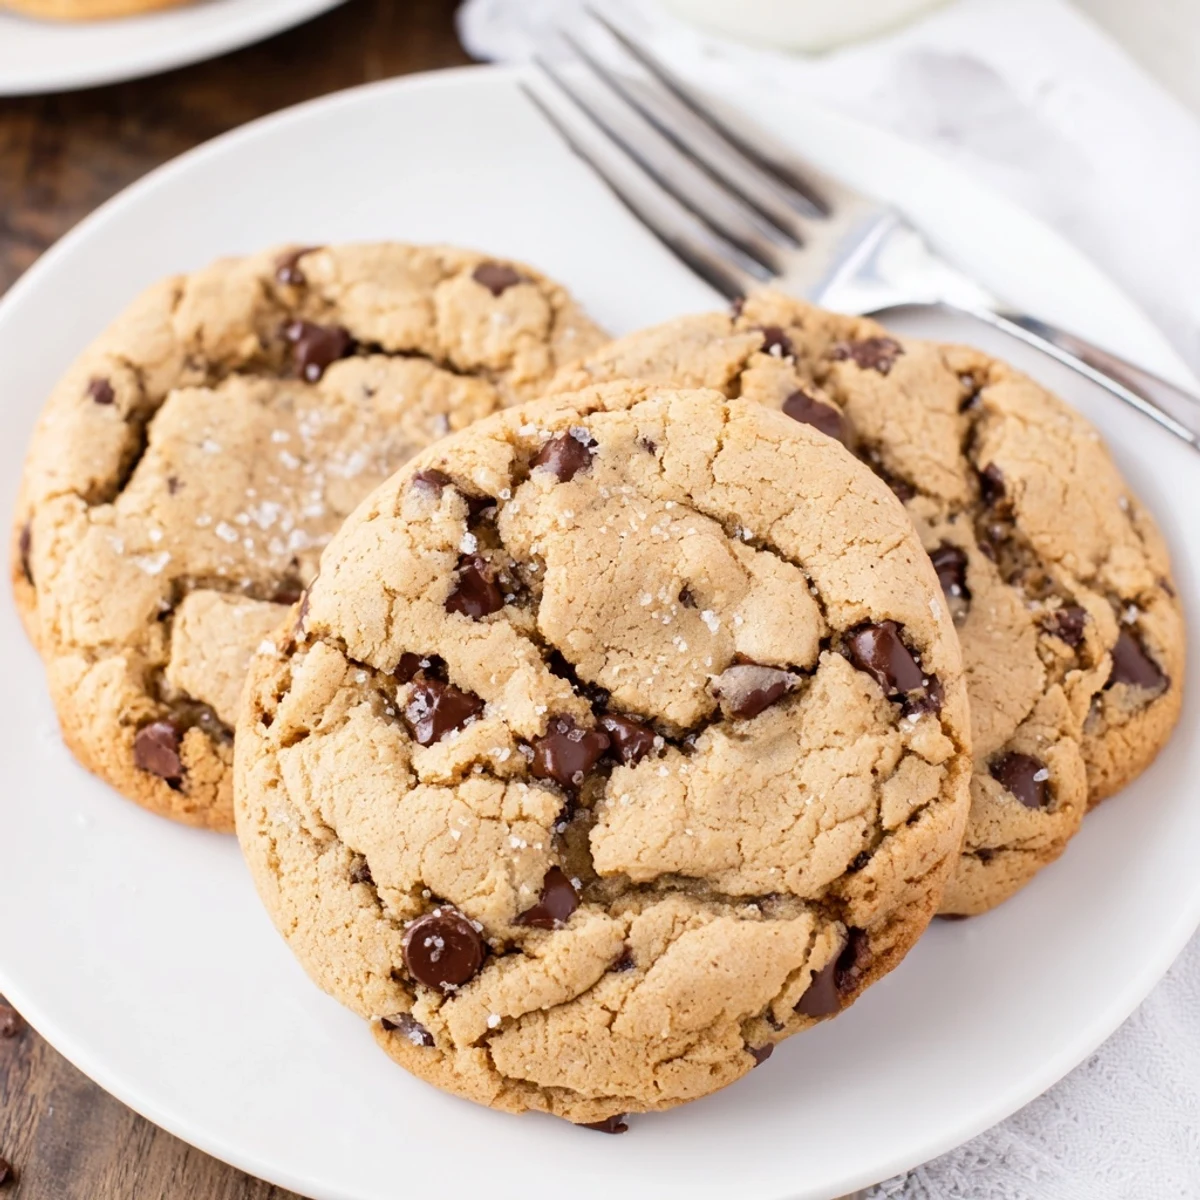
Save These soft and chewy chocolate chip cookies deliver classic comfort without any nuts. Made with simple pantry staples, they feature perfectly golden edges and tender centers loaded with semi-sweet chocolate morsels. The dough comes together quickly in one bowl, and chilling for 30 minutes ensures extra chewiness. Each batch yields two dozen treats ideal for school lunches, parties, or everyday cravings. Certified nut-free ingredients make them safe for those with allergies while maintaining that beloved homemade taste everyone remembers.
The smell of butter and sugar creaming together still takes me back to my tiny first apartment kitchen, where I discovered that the best therapy after a long day was baking something simple and sweet. I had friends over for game night who couldn't eat nuts, so I experimented until these cookies came out perfectly soft and chewy without missing a thing.
My neighbor's daughter has severe nut allergies, and seeing her face light up when I brought over a batch she could actually eat made these cookies a permanent fixture in my baking rotation. They've since become the go-to treat for school events and potlucks where I need something safe but absolutely delicious.
Ingredients
- 2 1/4 cups all-purpose flour: The foundation that gives these cookies their structure without making them tough
- 1 tsp baking soda: Helps the cookies spread just right while keeping them tender
- 1/2 tsp salt: Balances the sweetness and brings out the chocolate flavor
- 1 cup unsalted butter softened: Room temperature butter creamed properly creates those perfect soft pockets
- 3/4 cup granulated sugar: Creates the crisp edges we all love
- 3/4 cup light brown sugar packed: The secret to chewy centers and that caramel depth
- 2 large eggs: Binds everything together while adding richness
- 2 tsp pure vanilla extract: Don't skimp here, it makes the chocolate sing
- 2 cups nut-free semisweet chocolate chips: Always check the label to ensure they're certified nut-free
Instructions
- Preheat your oven to 350°F and line your baking sheets:
- Parchment paper prevents sticking and makes cleanup effortless
- Whisk together the dry ingredients:
- Combine flour, baking soda, and salt in a medium bowl until well blended
- Cream the butter and sugars:
- Beat with an electric mixer for 2 to 3 minutes until light and fluffy
- Add the eggs and vanilla:
- Beat in eggs one at a time, then mix in vanilla until fully incorporated
- Combine the mixtures:
- Gradually add dry ingredients to wet, mixing just until no flour streaks remain
- Fold in the chocolate chips:
- Use a spatula to gently distribute chips evenly throughout the dough
- Scoop onto prepared baking sheets:
- Drop rounded tablespoons about 2 inches apart to allow for spreading
- Bake until perfectly golden:
- Check at 9 minutes, looking for golden edges and slightly soft centers
- Cool completely:
- Let cookies rest on sheets for 5 minutes before moving to a wire rack
 Save
Save These cookies have traveled with me to office share days, birthday parties, and late-night study sessions. There's something universally comforting about a warm chocolate chip cookie that brings people together in the best way.
Getting the Perfect Texture
I've learned that the real secret to bakery-style cookies at home is taking them out of the oven when the edges are set but the centers still look slightly underbaked. They continue cooking on the hot baking sheet, transforming into that ideal soft and chewy texture everyone craves.
Mixing Without Overworking
The moment you see the last streak of flour disappear, stop mixing. Overworking the dough develops too much gluten, leading to tough cookies. A light hand makes all the difference between a cookie that's merely good and one that's absolutely perfect.
Customizing Your Batch
While chocolate chips are the classic choice, these cookies are incredibly forgiving with variations. I've made them with dried cranberries and white chocolate during the holidays, or added a sprinkle of sea salt on top before baking for that sweet and salty combination people can't resist.
- Swap in nut-free white chocolate chips for a fun twist
- Add dried fruit like cranberries or cherries for extra chew
- Try sprinkling flaky sea salt on top before baking for gourmet flair
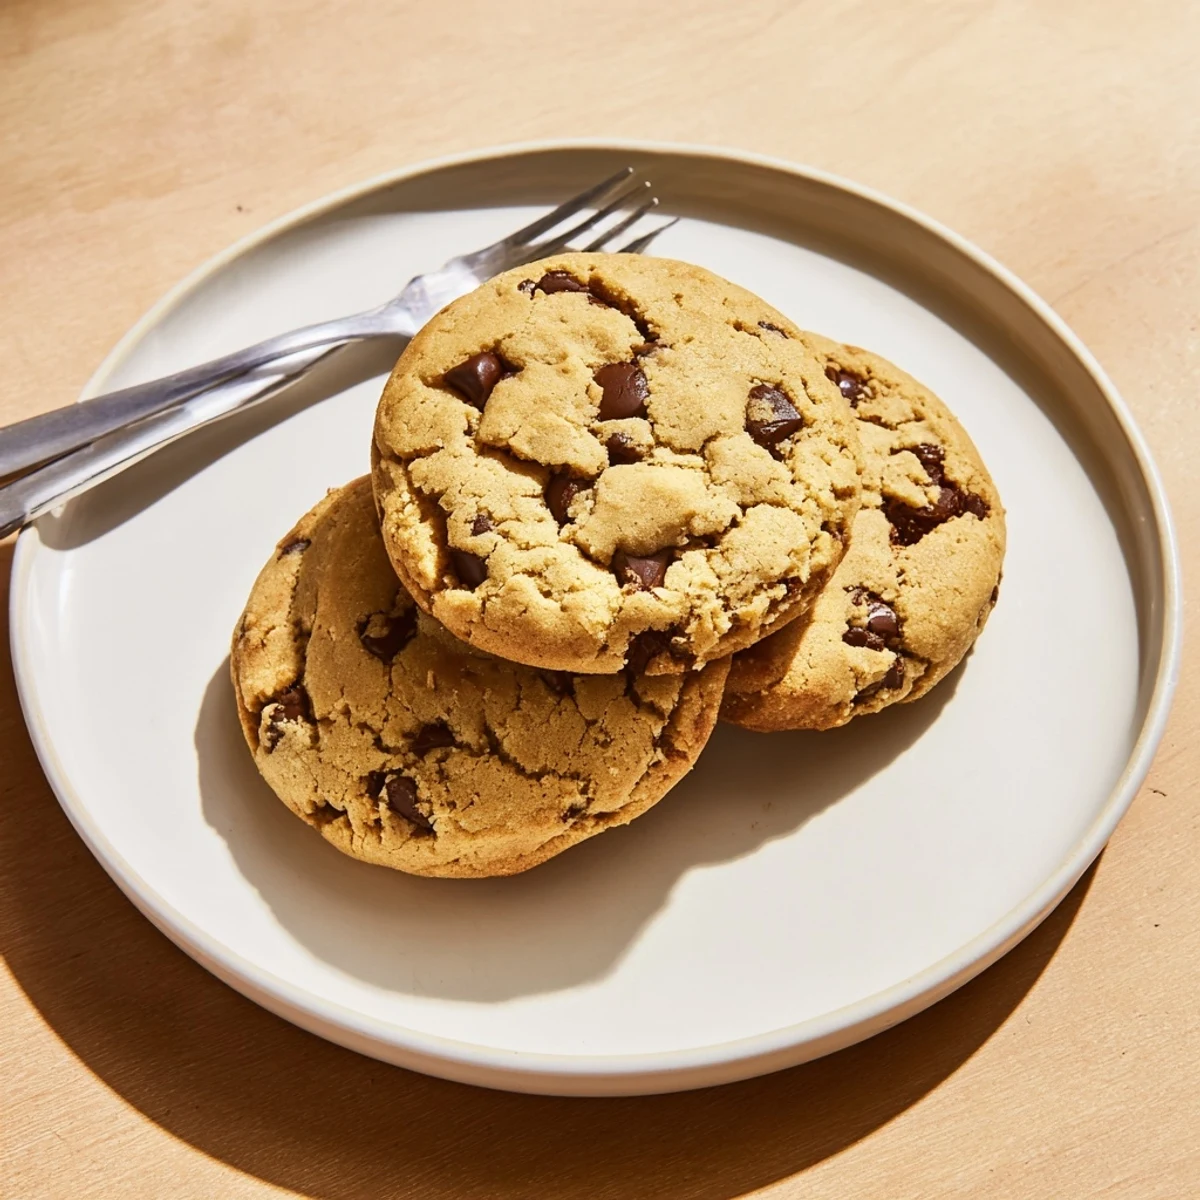 Save
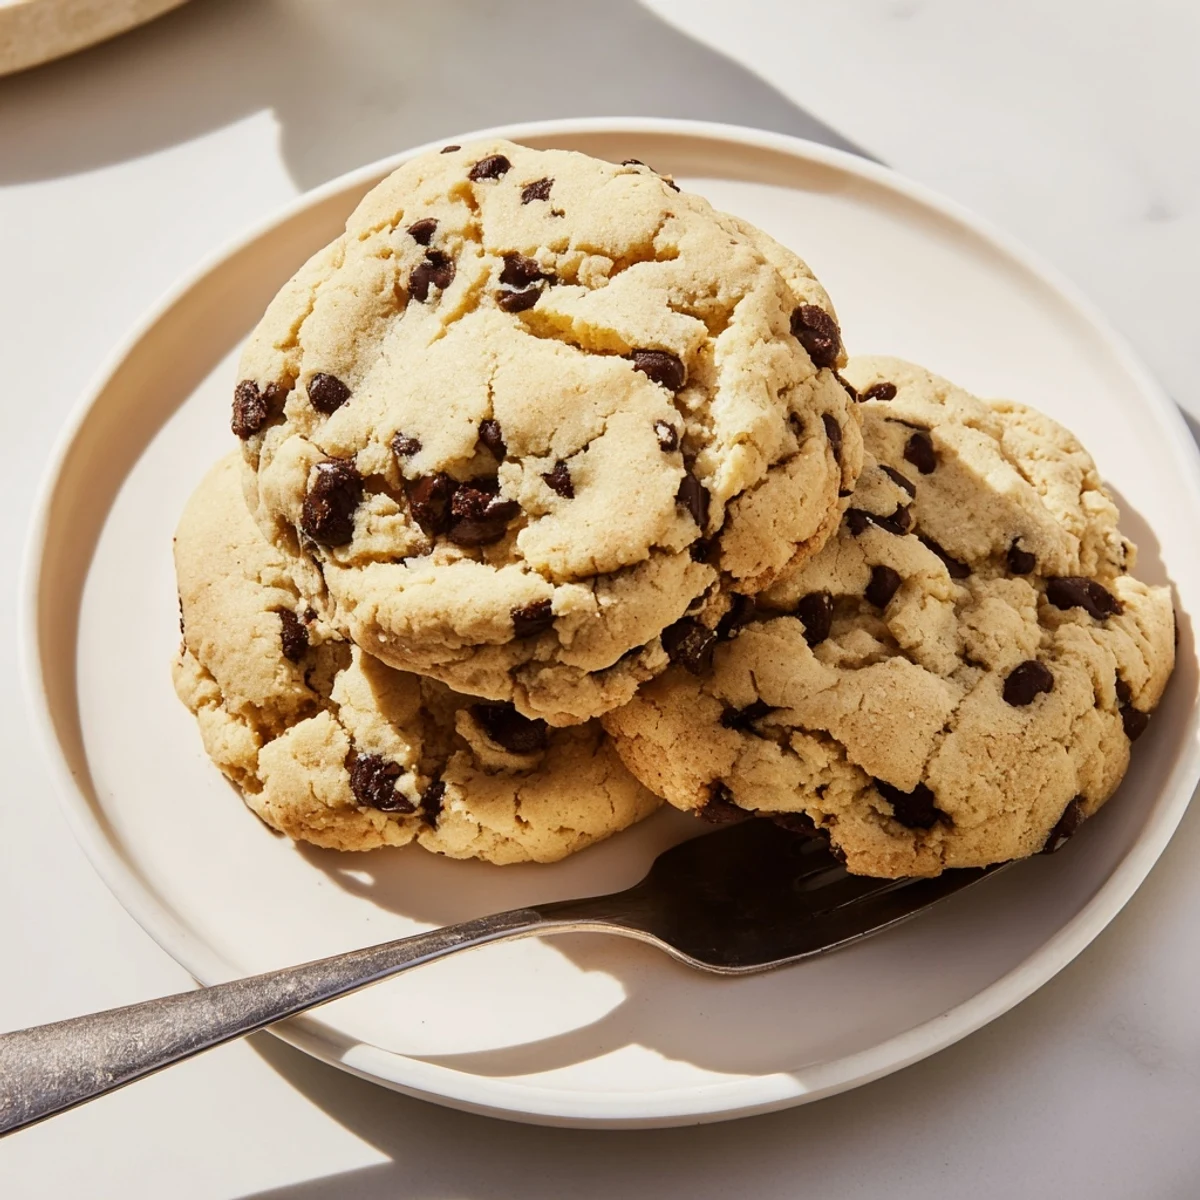
Save Whether you're baking for someone with allergies or just craving a classic cookie, these never disappoint. There's always room for one more warm cookie fresh from the oven.
Common Questions
- → Are these cookies completely nut-free?
-
Yes, these cookies contain no nuts or nut-derived ingredients. Always verify your chocolate chips and other packaged ingredients are certified nut-free, especially when preparing for someone with severe allergies.
- → Why chill the dough before baking?
-
Chilling the dough for 30 minutes helps cookies hold their shape better and creates a chewier texture. The cold dough spreads less in the oven, resulting in thicker cookies with crisp edges and soft centers.
- → Can I freeze the cookie dough?
-
Absolutely. Scoop the dough onto a baking sheet and freeze until solid, then transfer to a freezer bag. Bake from frozen, adding 1-2 minutes to the baking time, or thaw in the refrigerator before baking.
- → What makes these cookies soft and chewy?
-
The combination of brown sugar and butter creates moisture and tenderness. Removing cookies from the oven while centers still look slightly soft allows them to finish cooking on the hot baking sheet, resulting in perfectly chewy texture.
- → Can I use dairy-free butter?
-
Yes, dairy-free butter substitutes work well in this dough. Look for a stick variety that mimics butter's fat content. Texture may vary slightly, but the cookies will still bake up beautifully soft and chewy.