
 Save
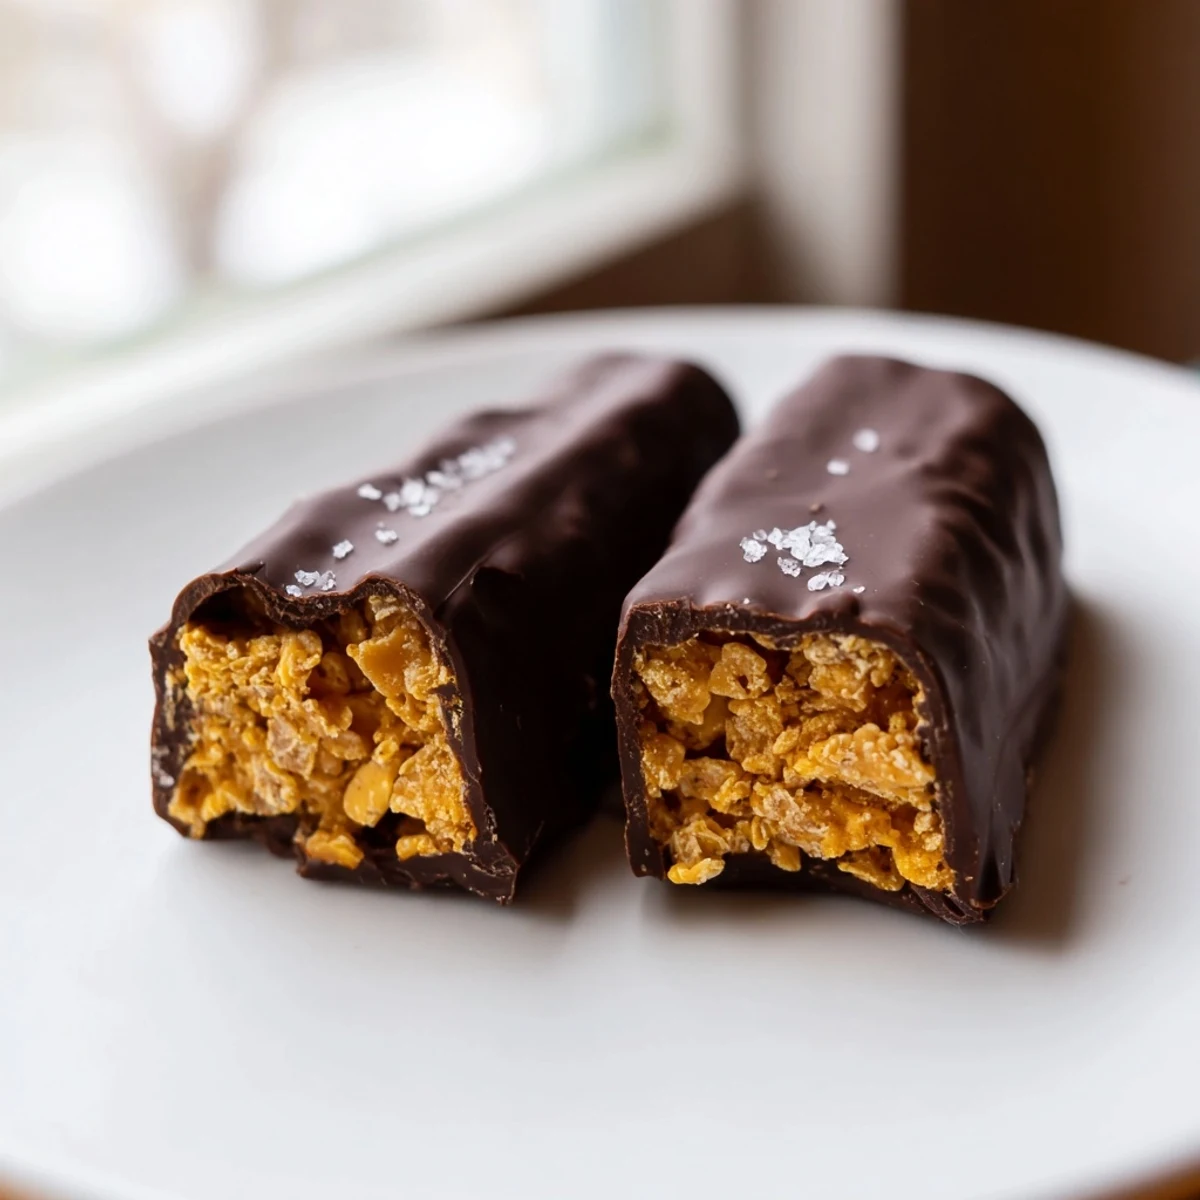
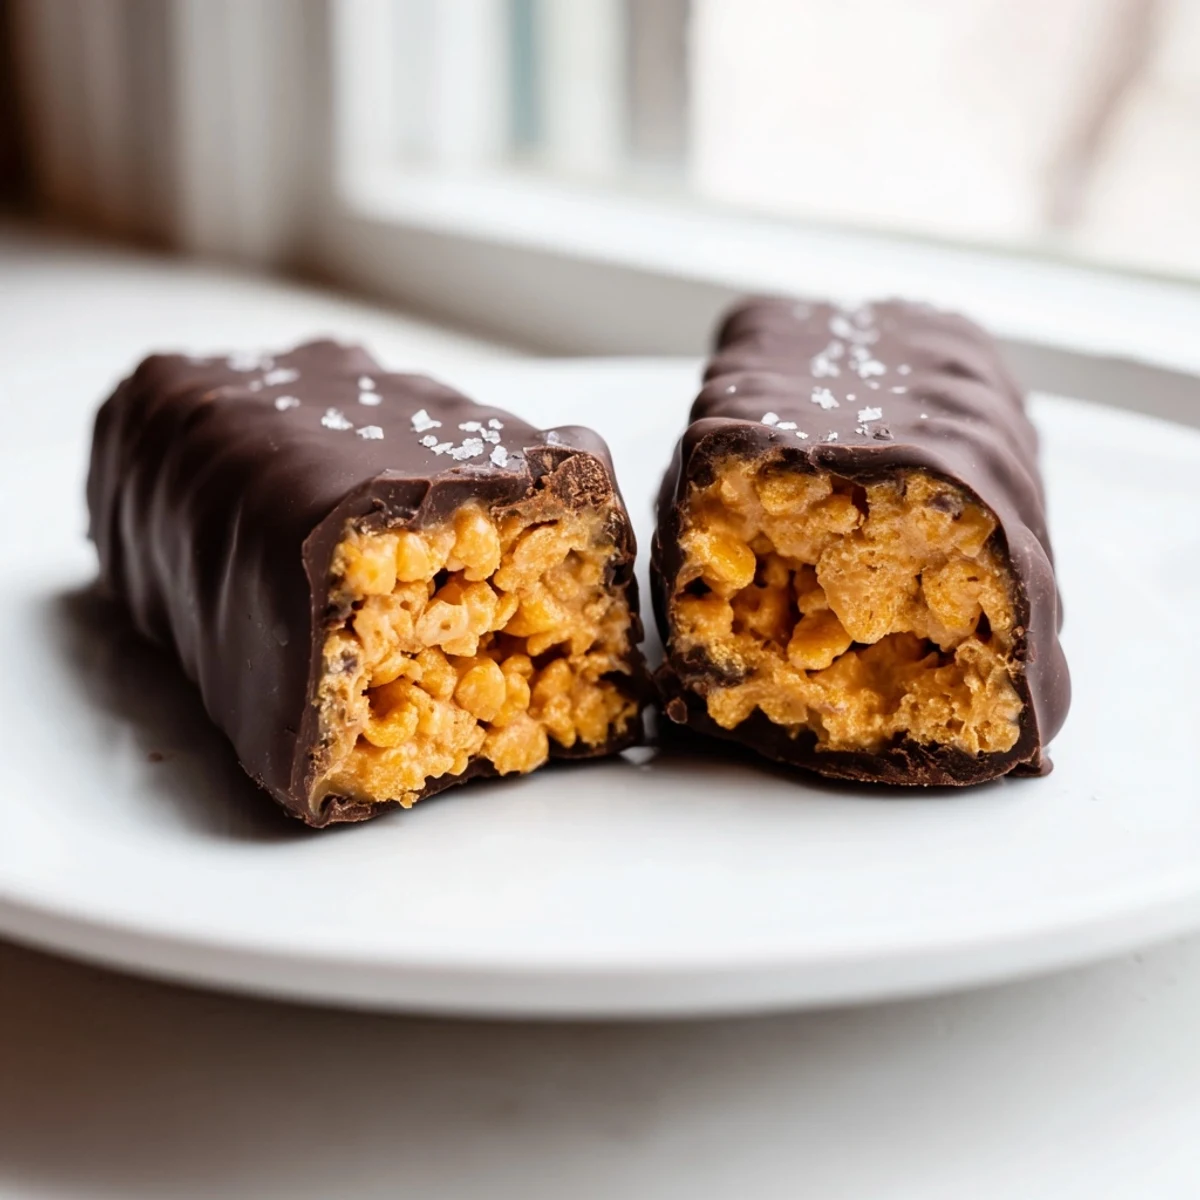
Save These homemade Butterfingers deliver everything you love about the classic candy bar with a wholesome twist. A crunchy peanut butter and corn flake center provides that signature snap, while a generous coating of dark chocolate adds rich, indulgent flavor.
Melted peanut butter and maple syrup bind the crushed corn flakes together into a firm, easy-to-cut slab. After a quick chill in the freezer, each bar gets dipped in silky melted chocolate and sets in the refrigerator.
Ready in about an hour with only 20 minutes of active prep, these no-bake bars are vegetarian, easily made vegan, and can be gluten-free with certified corn flakes. Store them in the fridge for up to a week or freeze for longer shelf life.
The candy aisle at the grocery store used to call my name every single time, especially around Halloween when those orange and yellow wrappers seemed to multiply on the shelves. One rainy Saturday afternoon, staring at the ingredient list on a Butterfinger package, I decided I could do better with real food. Twenty minutes later, my kitchen smelled like toasted peanuts and melting chocolate, and I was hooked on my own creation. These bars deliver that signature crunch and sweetness without the mysterious additives.
I brought a batch of these to a friends movie night and watched three people argue about whether they were store bought before finally believing me. The trick was getting that peanut butter layer cold enough before dipping, which I learned the hard way after a messy first attempt left me with chocolate streaked across the counter and my shirt.
Ingredients
- Natural creamy peanut butter: Use the kind with just peanuts and salt on the label because added oils and sugars throw off the texture and make the layer greasy instead of snappy.
- Pure maple syrup or honey: Maple syrup keeps it vegan and adds a subtle caramel note that pairs beautifully with dark chocolate, while honey brings a warmer, rounder sweetness.
- Corn flakes, lightly crushed: Do not over crush them into dust because you want irregular shards that mimic that flaky, shattering bite the real candy bar is famous for.
- Dark chocolate chips, at least 70 percent cacao: The higher cacao percentage balances the sweet peanut butter layer and keeps the whole thing from tasting like a sugar bomb.
- Coconut oil: Just a tablespoon thins the chocolate into a silky dipping consistency and gives the coating a satisfying snap when it sets.
Instructions
- Prep your pan:
- Line an 8 by 8 inch baking dish with parchment paper, leaving enough overhang on the sides to lift the whole slab out later like a neat little package.
- Melt the base:
- In a medium saucepan over low heat, stir the peanut butter and maple syrup together constantly for about two to three minutes until the mixture is glossy and flows smoothly off your spoon.
- Fold in the crunch:
- Take the pan off the heat and gently fold in the crushed corn flakes with a spatula, using a folding motion so you do not crush them any further while making sure every flake gets coated.
- Press and freeze:
- Transfer the mixture into your lined dish and press it down firmly and evenly with your hands or the back of a spoon, then pop it into the freezer for twenty to thirty minutes until it holds its shape.
- Melt the chocolate:
- Set up a double boiler by placing a heatproof bowl over a pan of barely simmering water, then stir the chocolate chips and coconut oil together until the mixture is completely smooth and shiny with no lumps remaining.
- Cut and dip:
- Lift the frozen peanut butter slab out of the dish and cut it into twelve even bars, then use a fork to lower each bar into the melted chocolate, flipping once and tapping off the excess before placing it on a parchment lined tray.
- Chill until set:
- Refrigerate the coated bars for at least twenty minutes until the chocolate shell is firm to the touch and no longer tacky, then enjoy immediately or store for later.
 Save
Save The moment these became more than just a recipe was when my niece, a notoriously picky eater, asked if I could make them for her birthday instead of a cake. Something about that flaky crunch dipped in dark chocolate won her over completely, and now they show up at every family gathering with her name attached to the request.
Storing Your Butterfinger Bars
Keep these bars in an airtight container in the refrigerator and they stay fresh for up to a week, though in my house they never last more than three days. If you want to stretch them further, freeze them in a single layer separated by parchment sheets and they will keep for about two months. Let frozen bars sit at room temperature for about ten minutes before eating so the peanut butter center softens just enough to bite through comfortably.
Making Them Your Own
Almond butter works beautifully in place of peanut butter if you need a peanut free version, and sunflower seed butter is a great nut free alternative for school lunches. A friend of mine swears by adding a tablespoon of vanilla extract to the peanut butter mixture, and another sprinkles flaky sea salt on top of the wet chocolate for a sweet and salty finish that is absolutely addictive.
Getting the Coating Right
The chocolate dipping step is where most people get frustrated, but a few small adjustments make it surprisingly painless. Make sure your chocolate is fluid and warm, not hot, because overheated chocolate gets thick and grainy.
- Stir the coconut oil into the chocolate at the very start of melting so it incorporates evenly and prevents streaks.
- Work quickly once you start dipping because the cold bars will start to cool the chocolate bath after a few minutes.
- Always tap the fork gently on the edge of the bowl to shake off excess chocolate rather than trying to spread it with a knife.
 Save
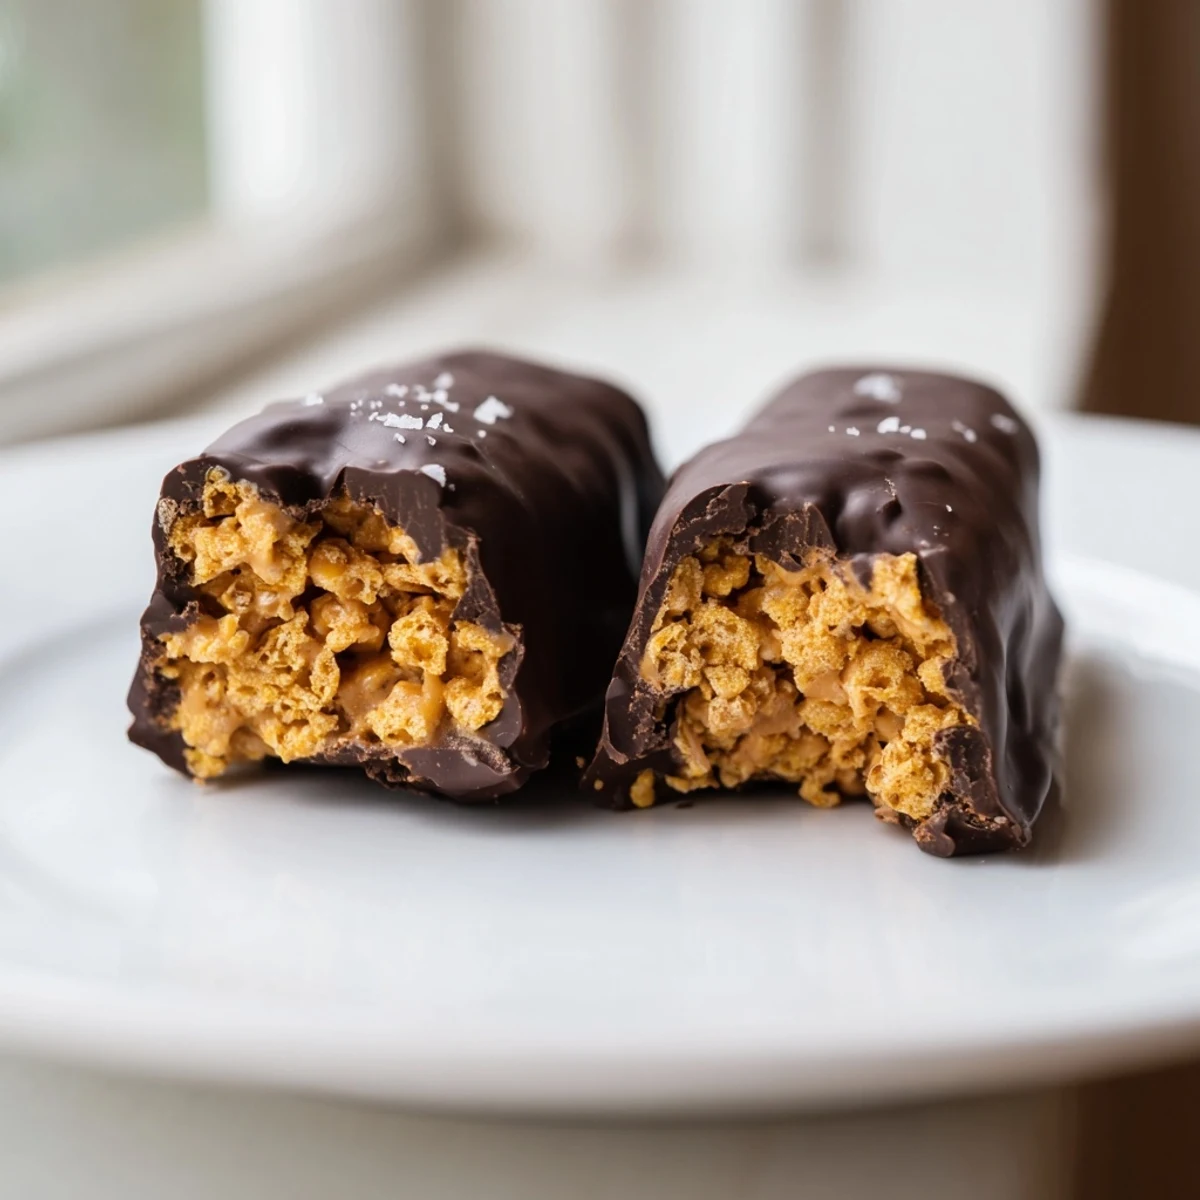
Save Once you master these homemade Butterfingers, you will never look at the candy aisle the same way again. Share them generously, hide a few for yourself, and enjoy every crunchy, chocolate covered bite.
Common Questions
- → Can I make these Butterfingers vegan?
-
Yes, use maple syrup instead of honey and choose dairy-free dark chocolate chips. Most dark chocolate with 70% cacao or higher is naturally dairy-free, but always check the label for milk solids.
- → What can I substitute for peanut butter?
-
Almond butter or sunflower seed butter work well as peanut-free alternatives. Sunflower seed butter will give a slightly earthier flavor, while almond butter offers a milder, sweeter taste.
- → How should I store the finished bars?
-
Keep bars in an airtight container in the refrigerator for up to one week. For longer storage, freeze them for up to three months. Let frozen bars sit at room temperature for a few minutes before eating.
- → Why are my corn flakes not staying crunchy?
-
Make sure to fold the corn flakes in quickly after removing the peanut butter mixture from heat, and press them into the dish immediately. The faster you get them into the freezer, the crunchier they will stay.
- → Can I use milk chocolate instead of dark chocolate?
-
Absolutely. Milk chocolate or semi-sweet chocolate chips will work for the coating. Keep in mind that dark chocolate provides a richer contrast to the sweet peanut butter layer and contains less sugar.
- → Are these bars gluten-free?
-
They can be. Use certified gluten-free corn flakes and check that your chocolate chips are processed in a gluten-free facility. All other ingredients in this version are naturally gluten-free.